
>>

Crispy, low-carb zucchini chips coated in golden parmesan — a healthier, keto-friendly alternative to potato chips that's easy to make and impossible to stop snacking on.
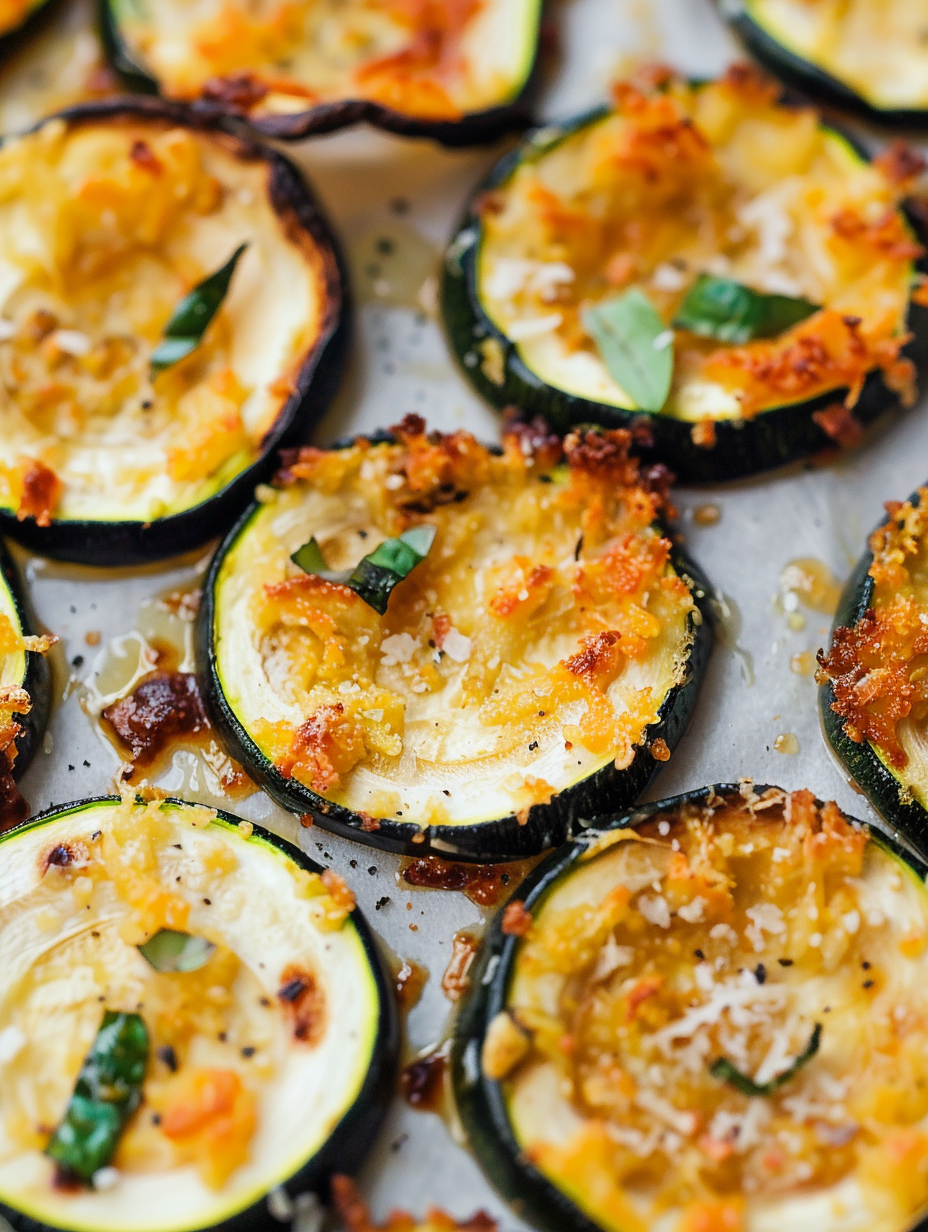
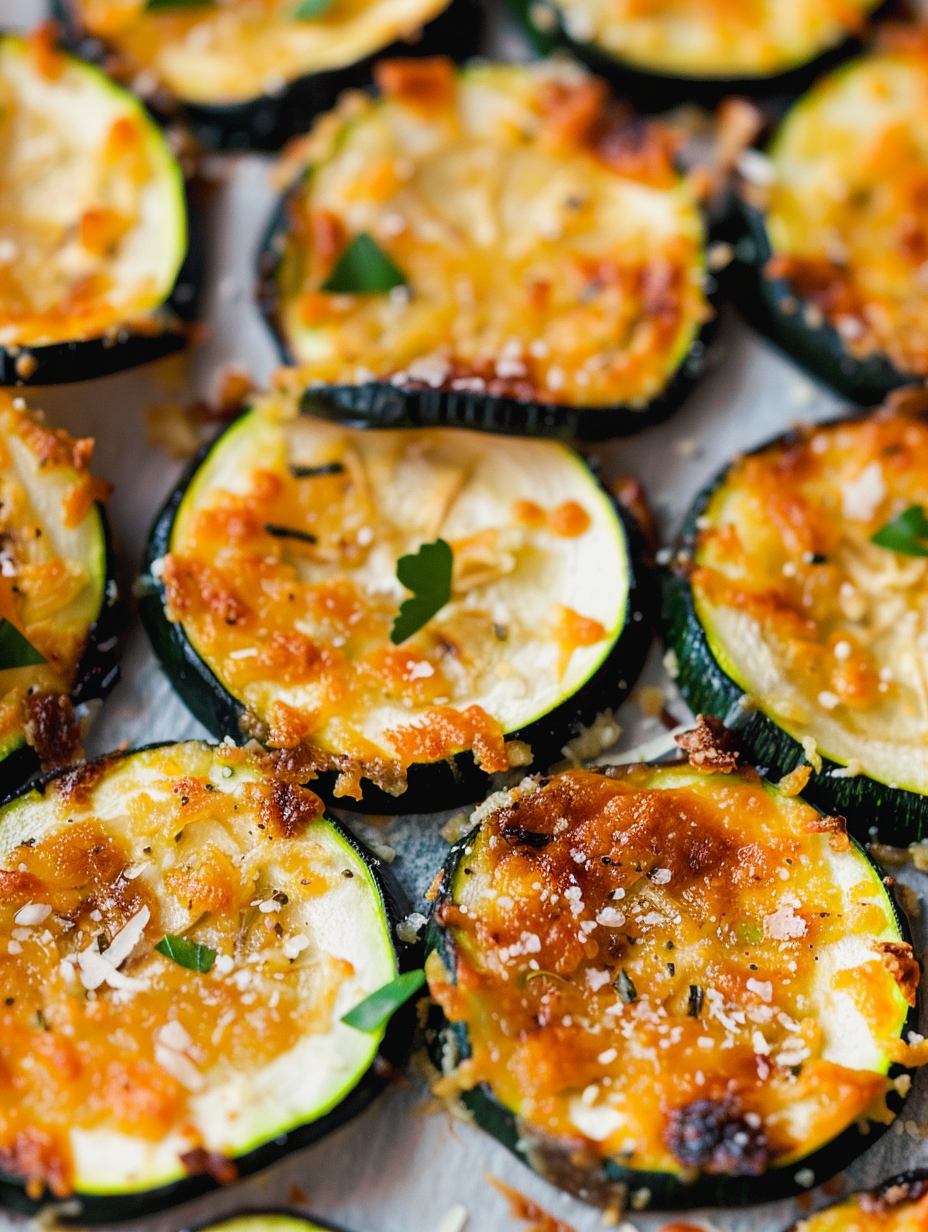
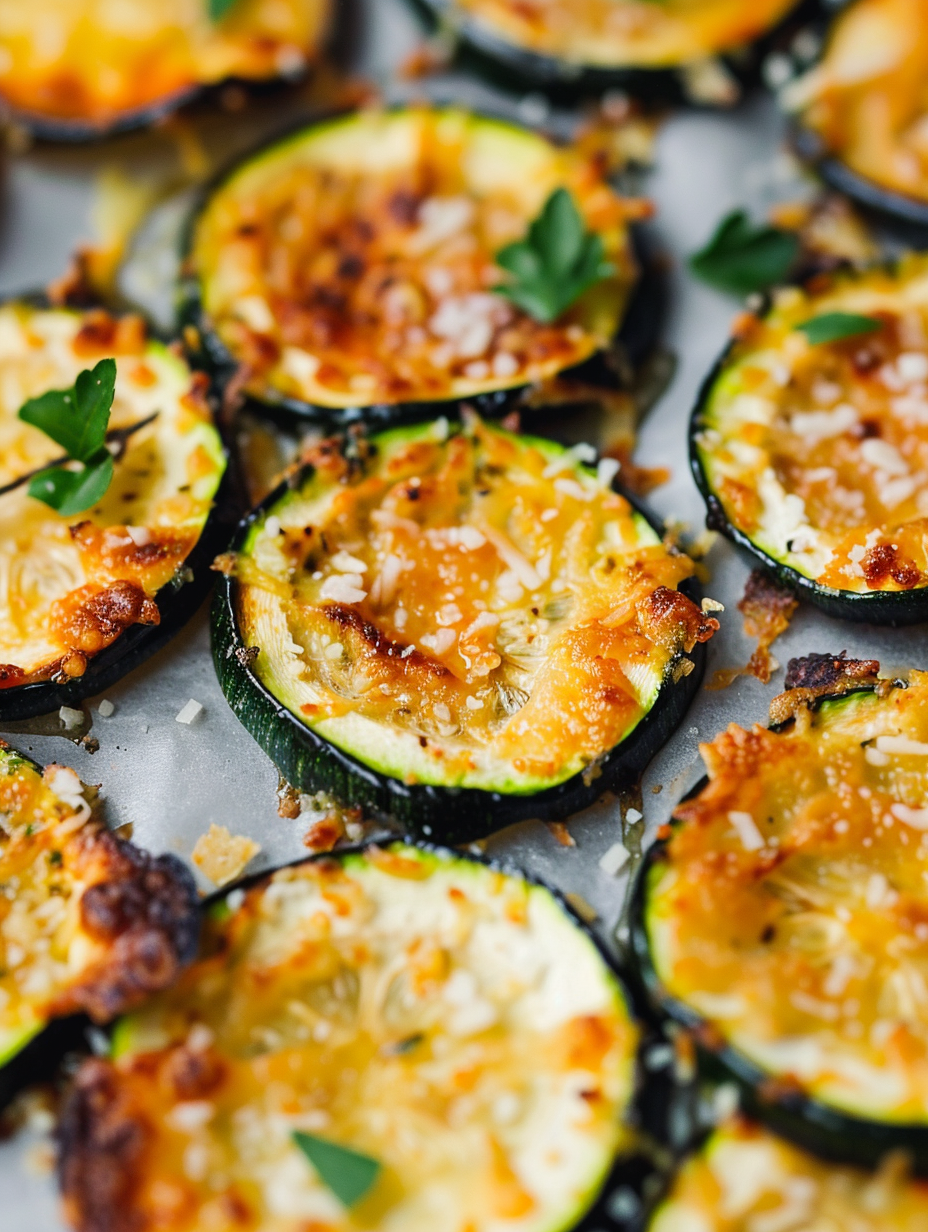
This recipe for baked zucchini chips has become my favorite quiet-night snack and a party pleaser whenever friends swing by. I first stumbled on the idea during a week when I wanted something crunchy and savory but lighter than regular chips. The outcome surprised me: thin, golden rounds that crack delightfully with every bite, carrying a toasty parmesan flavor and just enough seasoning to feel indulgent without derailing a low-carb plan. Because zucchini is mild, it takes on the aromatics and cheese perfectly, giving a satisfying contrast between the soft interior and the crisped edges.
I often make a double batch and bring it to potlucks or set it out with dips for movie nights. My family treats these like little treasures — even my most carb-loving nephew reaches for them first. What makes them special is the simplicity: a few pantry staples, basic technique, and attention to slice thickness. When sliced thin and baked until the cheese browns, zucchini transforms into a snack that’s light, crunchy, and bright with a hint of garlic and paprika.
Personally, I love that these satisfy the craving for a salty crunch without the heaviness of fried snacks. After testing many slice thicknesses and bake times, the family unanimously agreed on the current balance between tenderness inside and crisp around the edges. It’s become my go-to when I want a healthier nibble with real texture.
I love the contrast these provide with creamy dips — they’re sturdy enough to scoop and light enough to feel like a treat. Over the years I’ve found that small adjustments, like letting slices rest or shifting between parchment and a silicone mat, change the texture subtly; those little experiments led me to this reliable method that keeps everyone coming back for more.
To preserve crunch, cool the chips completely before storing. Use an airtight container with a dry paper towel tucked inside to absorb residual moisture and keep chips crisper for longer. Store at room temperature for up to three days. Refrigeration will add humidity and soften them. If chips lose crispness, reheat on a sheet pan at 250°F (120°C) for 5–8 minutes until dry and crisp again. Avoid tightly sealing warm chips, which will trap steam and make them soggy.
If you want to change the flavor profile, swap parmesan for finely grated Pecorino Romano for a saltier, tangier finish. For a dairy-free version, use a crispy nut-and-seed crumb (finely ground almonds mixed with nutritional yeast) but expect a slightly different texture. Reduce oil to 2 tablespoons for a lighter result, though crispiness will be modestly diminished. For a smoky heat, replace paprika with smoked cayenne or add a pinch of crushed red pepper.
Serve these as a crunchy appetizer with a herb yogurt dip, tzatziki, or a warm roasted red pepper spread. They pair beautifully with a crisp green salad or alongside a bowl of tomato soup for textural contrast. For party platters, scatter chips around charcuterie items and soft cheeses — they act as a sturdy, flavorful vehicle for spreadable toppings.
The idea of transforming vegetables into chips is modern and global, driven by a growing interest in lighter snacks and vegetable-forward cooking. Zucchini, a summer squash with Mediterranean origins, has long been used in Italian and American home kitchens. Turning it into a crisp, cheese-coated chip is a contemporary twist that blends familiar Mediterranean flavors (olive oil, parmesan, garlic) with the universal desire for something crunchy.
In summer, use freshly harvested zucchini for the sweetest, firmest slices. In winter, small greenhouse zucchinis work fine but may contain more water — lean into the optional salting step to remove excess moisture. For holiday versions, try adding rosemary and lemon zest for brightness, or swap paprika for a pinch of cinnamon and cayenne for a festive smoky-spicy twist.
If you’re prepping snacks for the week, bake several sheets and store them in separate small containers so you don’t expose the whole batch to moisture each time you open one. For portable snacks, place a folded paper towel inside the container to help maintain dryness. If using the air fryer method for small batches, cook at 360°F (180°C) for 10–15 minutes, shaking halfway, but expect slightly different browning patterns than an oven.
These chips are a simple, joyful way to enjoy zucchini beyond sautéing or grilling. They reward a little attention to slicing and timing with a crisp bite and savory finish that feels indulgent and wholesome at once. Try them, tweak the seasoning, and make them your own — I promise they’ll vanish fast.
Slice consistently thin using a mandoline for even crisping; uneven slices will cook at different rates.
If you salt to remove moisture, pat slices completely dry before tossing with oil and seasonings to avoid steaming in the oven.
Use freshly grated Parmesan rather than pre-shredded cheese for better browning and a cleaner texture.
Watch the oven during the last 3 minutes; Parmesan can go from golden to burnt very quickly.
Cool chips on a wire rack after baking to let air circulate and firm them up before storing.
This nourishing baked zucchini chips (low carb, keto-friendly parmesan) recipe is sure to be a staple in your kitchen. Enjoy every moist, high protein slice — it is perfect for breakfast or as a wholesome snack any time.
Slicing thin (about 1/16–3/32 inch) and optionally salting slices to draw out moisture prevents sogginess. Pat slices dry before coating and ensure a single layer in the oven.
Yes. Arrange slices in a single layer in the air fryer basket and cook at 360°F (180°C) for 10–15 minutes, shaking halfway. Small baskets may require multiple batches.
Store cooled chips in an airtight container at room temperature for up to 3 days. Re-crisp by baking at 250°F (120°C) for a few minutes if they soften.
This Baked Zucchini Chips (Low Carb, Keto-Friendly Parmesan) recipe makes perfectly juicy, tender, and flavorful steak every time! Serve with potatoes and a side salad for an unforgettable dinner in under 30 minutes.
Preheat the oven to 375°F (190°C) and position a rack in the center. Allow full heat-up before baking to ensure immediate drying and browning.
Trim ends and slice zucchini into consistent thin rounds (about 1/16–3/32 inch). Use a mandoline for uniform thickness to ensure even cooking.
If desired, sprinkle slices lightly with 1/4 teaspoon salt and let sit 15–20 minutes to release water. Pat dry with paper towels to remove excess moisture.
In a bowl combine 1/4 cup olive oil, 1/2 teaspoon salt, 1/2 teaspoon garlic powder, 1/4 teaspoon paprika and pepper. Toss zucchini slices until evenly coated.
Place slices in a single layer on a lightly greased parchment-lined rimmed sheet pan and sprinkle evenly with 2/3 cup grated parmesan.
Bake at 375°F (190°C) for 15–17 minutes until cheese is golden and edges brown. Remove and cool on a wire rack for 5 minutes to crisp fully.
For small batches, arrange slices in a single layer in the air fryer at 360°F (180°C) and cook 10–15 minutes, shaking halfway through. May require multiple batches.
Last Step: Please leave a rating and comment letting us know how you liked this recipe! This helps our business to thrive and continue providing free, high-quality recipes for you.
Leave a comment & rating below or tag
@silksavor on social media!

Tender baked salmon crowned with a garlicky Parmesan herb crust, bright lemon, and buttery crunch. Simple to make, stunning to serve, and irresistibly flavorful.

Buttery graham crust, silky cheesecake, and cinnamon-kissed apples under a crunchy crumb, finished with glossy caramel. A fall crowd-pleaser you will crave.

Tender green beans in silky mushroom cream, crowned with crispy onions. A comforting holiday side made entirely from scratch that always disappears fast.
Leave a comment & rating below or tag @silksavor on social media!
Enjoyed this recipe? Share it with friends and family, and don't forget to leave a review!
This recipe looks amazing! Can't wait to try it.
Comments are stored locally in your browser. Server comments are displayed alongside your local comments.

Join to receive our email series which contains a round-up of some of our quick and easy family favorite recipes.
