
>>

Classic cherry thumbprint cookies with a tender buttery base and sweet cherry filling—simple, nostalgic, and perfect for sharing.
I’ve brought these to many gatherings and they disappear quickly. My nephew once declared them “tiny pies,” and a neighbor requested the recipe after a block party. Over time I’ve learned small adjustments—using slightly softened butter rather than melted, and gently pressing instead of digging—make all the difference in texture and presentation.
My favorite thing about these is how small rituals—pressing the thumbprint, choosing a single cherry—turn baking into a mindful moment. I often make a double batch at the holidays and portion half for neighbors: the simple act of sharing these tiny cookies has led to many friendly conversations and new recipe swaps on my street.
Store baked cookies in an airtight container at room temperature for up to 3 days; place parchment layers between layers to prevent sticking. For longer storage, freeze baked cookies in a freezer-safe container for up to 3 months—add a sheet of parchment between layers. To thaw, move to the refrigerator for several hours, then bring to room temperature before serving so the filling softens. If freezing dough balls, flash-freeze them on a tray, then transfer to a bag; bake straight from frozen adding 1–2 minutes to the bake time.
For a dairy swap, use a plant-based stick butter substitute that measures like butter—note texture will be slightly different. To reduce sugar gently, try 1/3 cup plus 1 tablespoon instead of 1/2 cup; cookies will be less sweet but still balanced with the fruit filling. Use reduced-sugar cherry filling or chopped maraschino cherries packed in light syrup for a brighter, less jammy center. For a gluten-free option, substitute a 1-to-1 gluten-free flour blend and chill dough slightly longer to prevent spreading.
Serve these on a decorative platter with a dusting of powdered sugar or a thin vanilla glaze (1/2 cup powdered sugar mixed with 1–2 teaspoons milk and 1/4 teaspoon vanilla). Pair with tea or coffee for afternoon tea, or arrange with other small cookies for a holiday cookie plate. For a festive touch, garnish each cookie with a tiny mint leaf or a sprinkle of lemon zest to contrast the cherry sweetness.
Thumbprint cookies trace roots to Scandinavian baking traditions where small, filled cookies were common for celebrations. Over time they traveled across Europe and became a staple in American holiday baking—each region adding its favorite preserves. The form is simple and versatile, offering a blank canvas for seasonal fillings and cultural flavors, from apricot preserves in Central Europe to date or nut pastes in other traditions.
In summer, swap cherry pie filling for fresh jam or macerated berries for a lighter, fruit-forward bite. In winter, use spiced plum or cranberry-orange preserves to complement holiday spices. For spring, add a touch of lemon zest to the dough for brightness. You can also top with crushed pistachios or toasted almond slivers to introduce a nutty contrast appropriate for autumn gatherings.
For easy week-of serving, roll dough into balls and store them in a single layer in an airtight container for up to 2 days, then press and fill just before baking for the freshest texture. Alternatively, bake a full sheet and freeze half for later—reheat gently at 300°F for 5–7 minutes to refresh. Use labeled freezer bags to track dates and rotate your stash easily.
These cherry thumbprint cookies are simple, forgiving, and endlessly adaptable—small joys of butter and fruit that bring people together. Try them next weekend and make a double batch: you’ll be glad you did.
Chill the dough 10–15 minutes if it feels too soft to roll—this helps cookies hold their shape in the oven.
Press gently to make the indentation; over-pressing can cause the cookie to crack during baking.
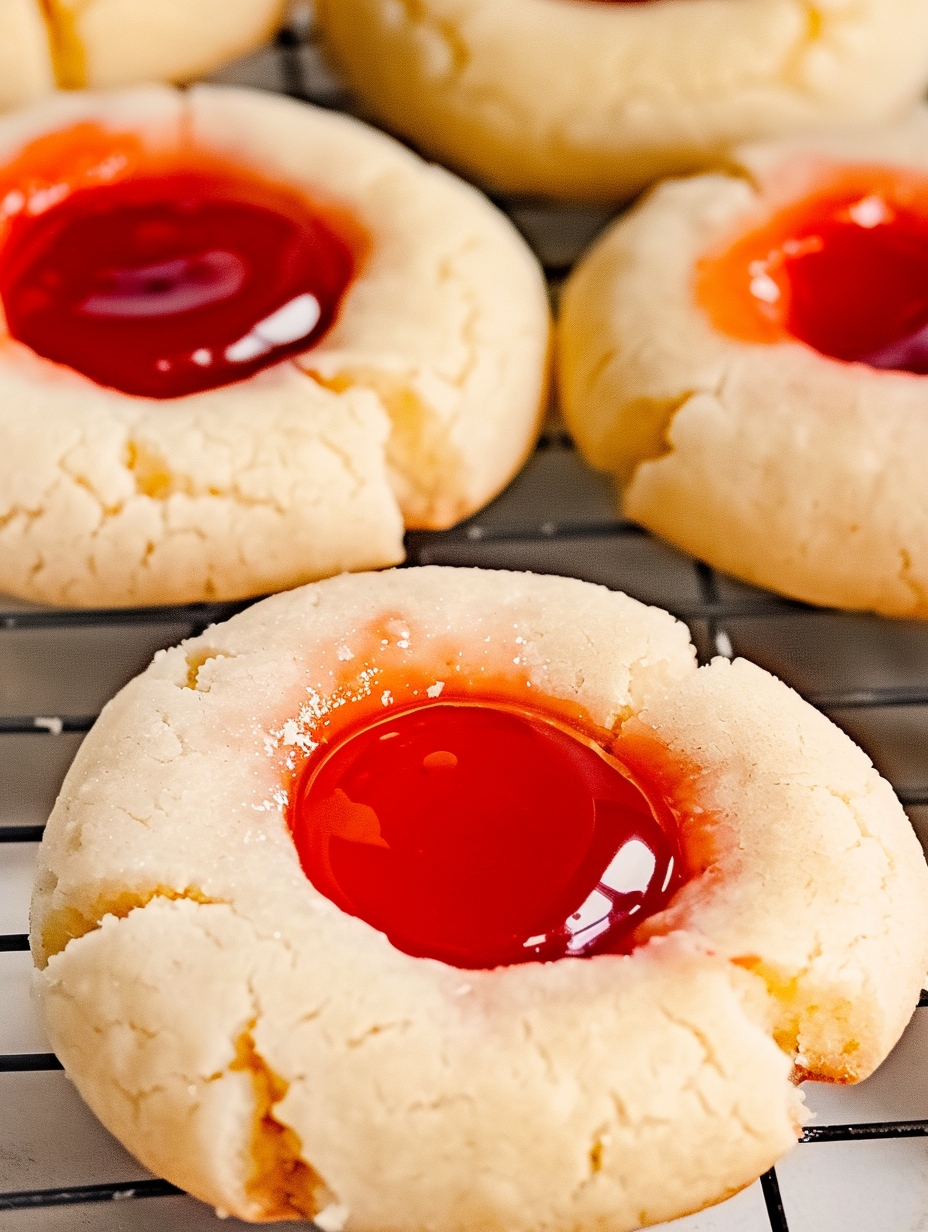
If cherry filling is runny, drain some syrup so the filling stays centered and doesn’t overflow during baking.
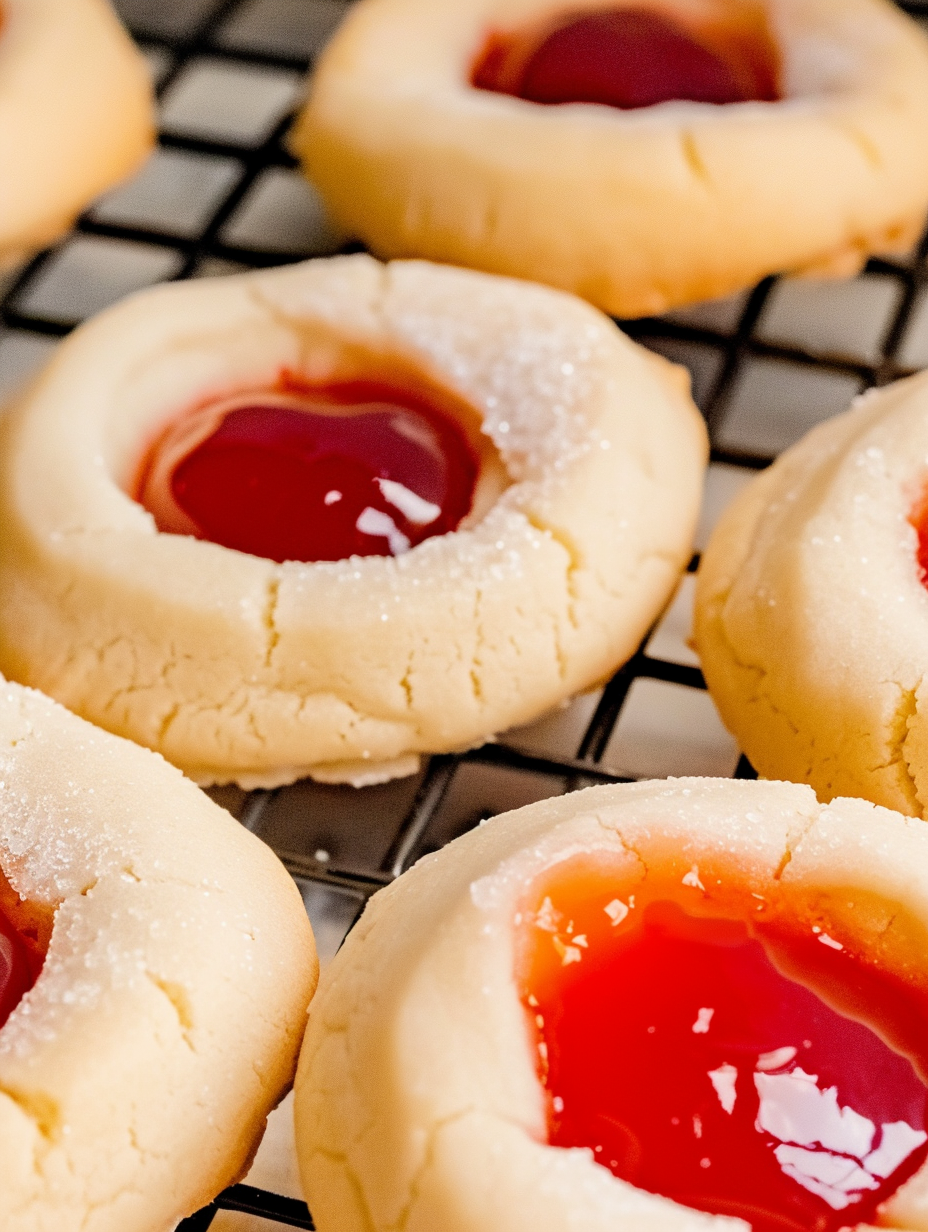
Roll cookie dough in granulated sugar before baking for a sparkly edge, or dust with powdered sugar after cooling for a softer finish.
This nourishing cherry thumbprint cookies — clean recipe recipe is sure to be a staple in your kitchen. Enjoy every moist, high protein slice — it is perfect for breakfast or as a wholesome snack any time.
This Cherry Thumbprint Cookies — Clean Recipe recipe makes perfectly juicy, tender, and flavorful steak every time! Serve with potatoes and a side salad for an unforgettable dinner in under 30 minutes.
Preheat oven to 350°F (175°C) and line a baking sheet with parchment paper to prevent sticking and ensure even baking.
In a large bowl, cream together 1 cup softened butter and 1/2 cup sugar until light and fluffy, about 2–3 minutes with an electric mixer.
Mix in 2 egg yolks and 1 teaspoon vanilla extract until smooth to add richness and color to the dough.
Add 2 cups all-purpose flour and 1/4 teaspoon salt, mixing until a soft dough forms; avoid overmixing to keep the texture tender.
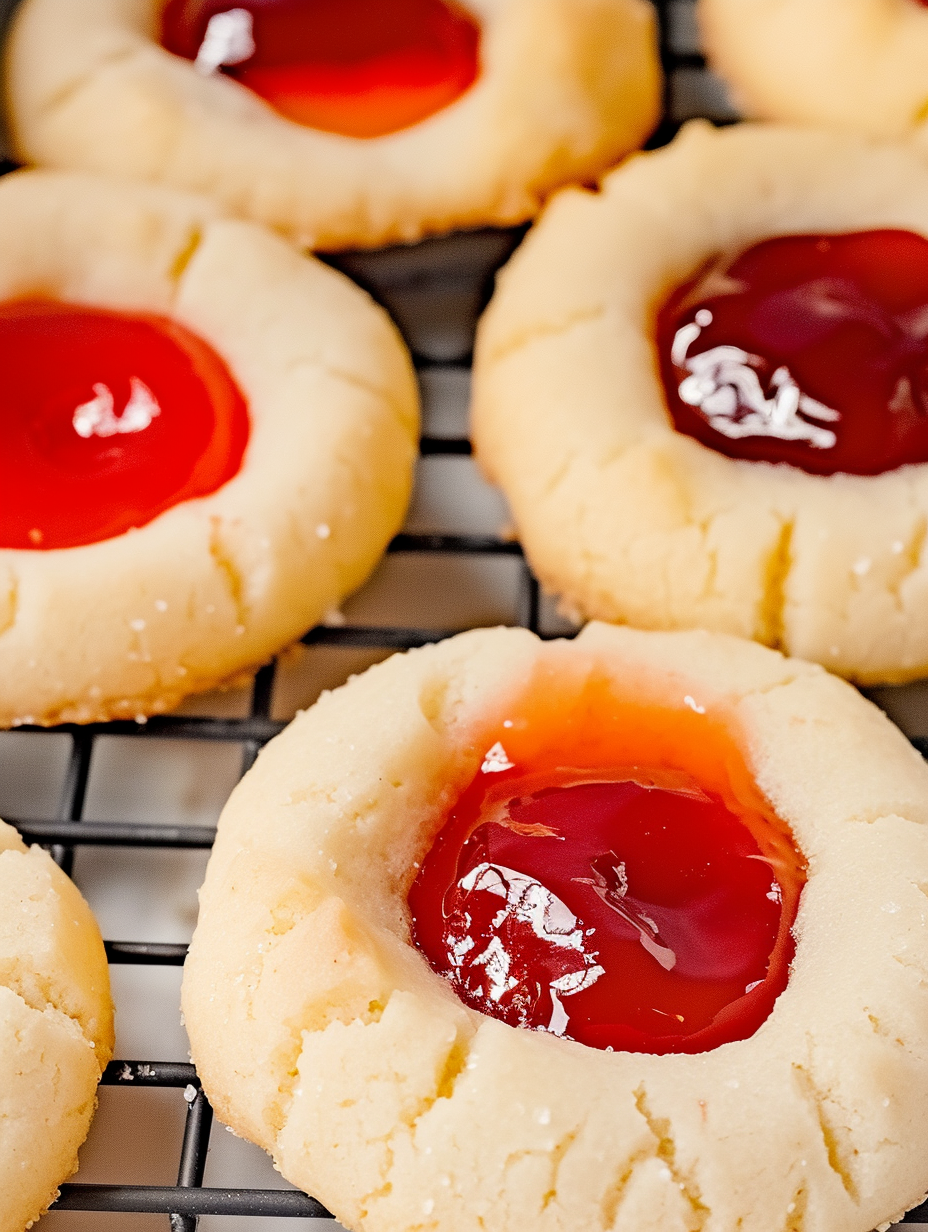
Roll dough into 1-inch balls, place on the prepared sheet, and press a shallow indentation in each using your thumb or the back of a spoon.
Place about one cherry plus a little filling into each indentation and bake for 12–14 minutes until edges are lightly golden; cool on the sheet 5 minutes before transferring to a wire rack.
Last Step: Please leave a rating and comment letting us know how you liked this recipe! This helps our business to thrive and continue providing free, high-quality recipes for you.
Leave a comment & rating below or tag
@silksavor on social media!

Tender baked salmon crowned with a garlicky Parmesan herb crust, bright lemon, and buttery crunch. Simple to make, stunning to serve, and irresistibly flavorful.

Buttery graham crust, silky cheesecake, and cinnamon-kissed apples under a crunchy crumb, finished with glossy caramel. A fall crowd-pleaser you will crave.

Tender green beans in silky mushroom cream, crowned with crispy onions. A comforting holiday side made entirely from scratch that always disappears fast.
Leave a comment & rating below or tag @silksavor on social media!
Enjoyed this recipe? Share it with friends and family, and don't forget to leave a review!
This recipe looks amazing! Can't wait to try it.
Comments are stored locally in your browser. Server comments are displayed alongside your local comments.

Join to receive our email series which contains a round-up of some of our quick and easy family favorite recipes.
