
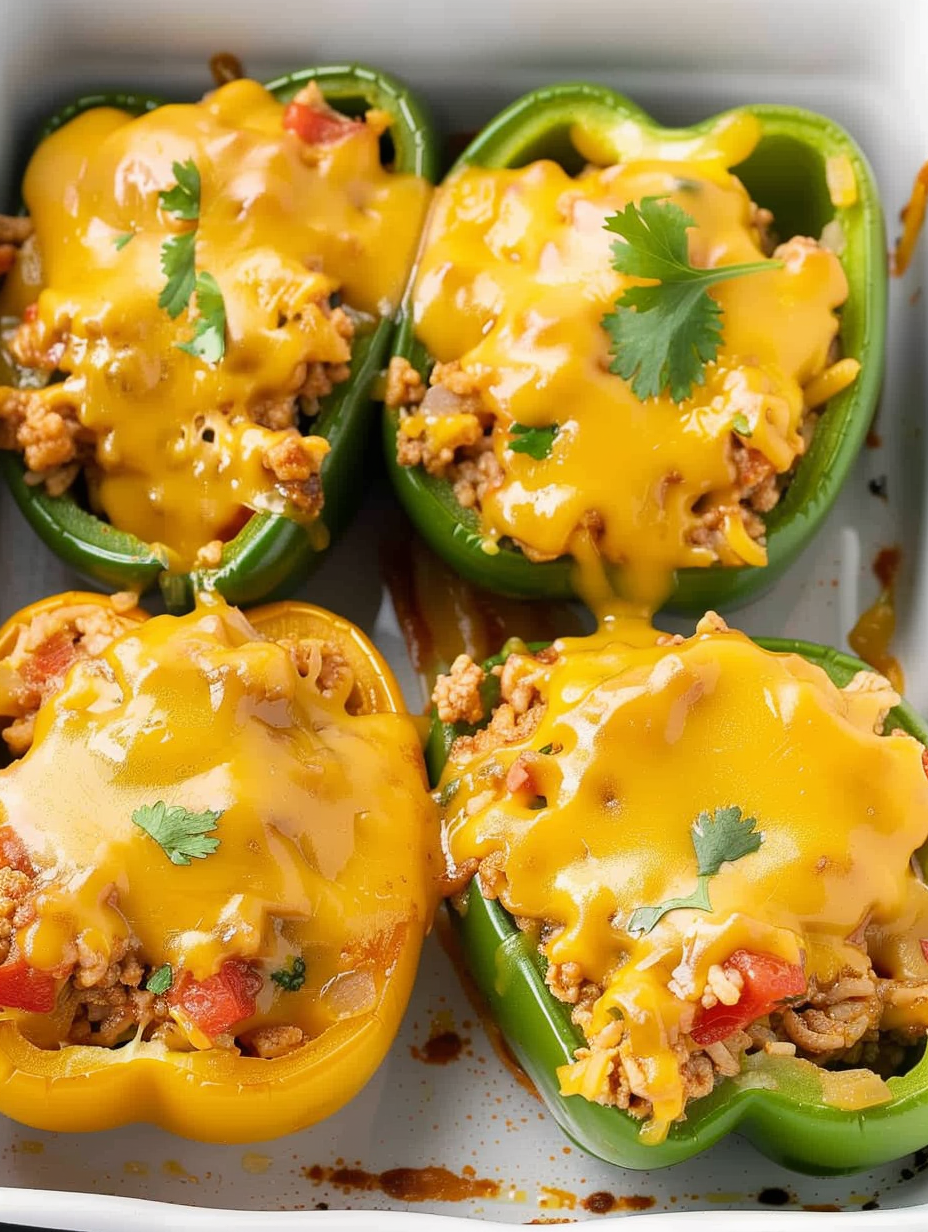
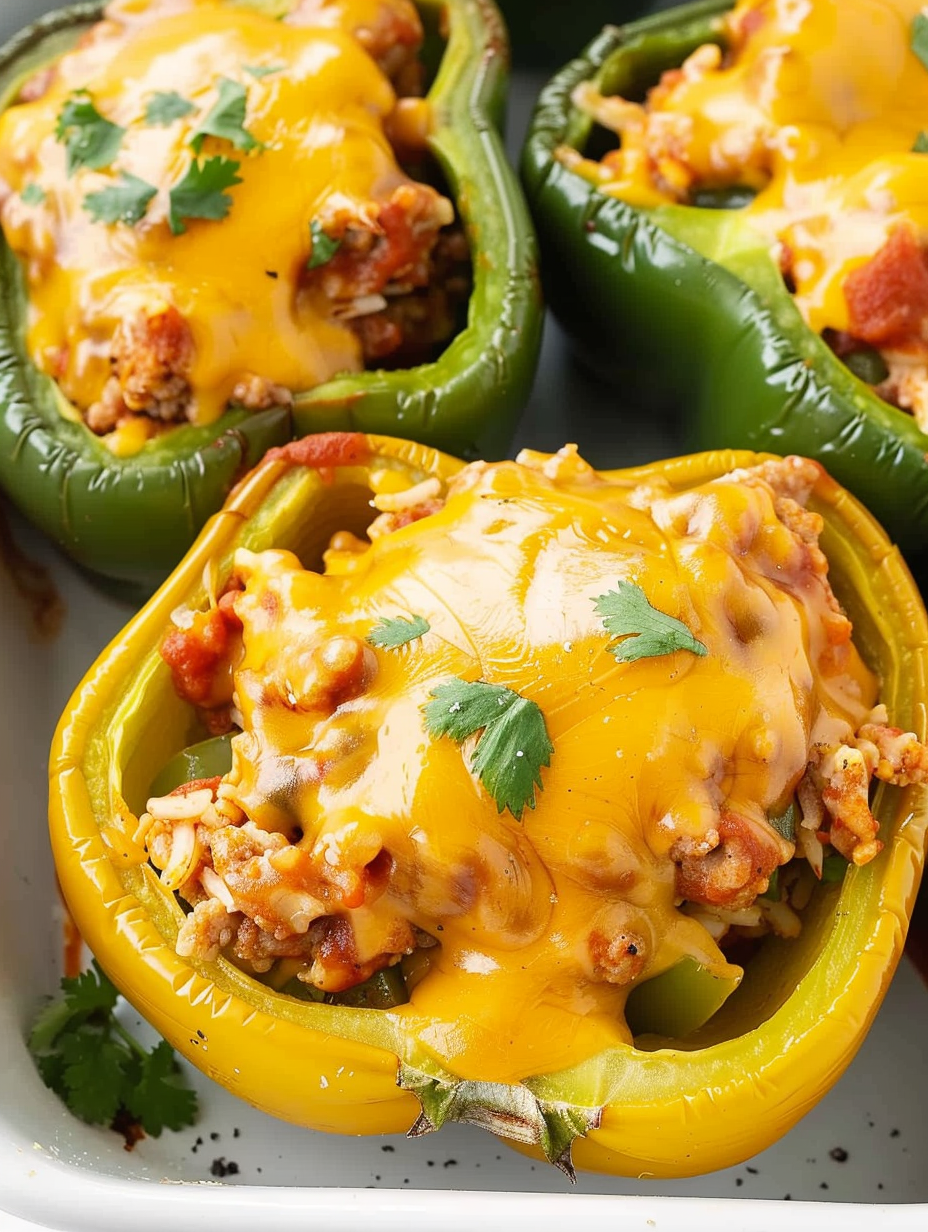
Chicken Stuffed Peppers

Well-seasoned ground chicken, tender bell peppers, tangy salsa, rice, and gooey Colby Jack cheese come together in these easy, family-friendly stuffed peppers.
Why You'll Love This Recipe
- Ready in about 45 minutes from start to finish, ideal for busy weeknights when you want a homemade meal without lengthy prep.
- Uses pantry staples like rice and jarred salsa, plus common fresh produce, so you can often make it without a special store run.
- Individual servings make it easy to portion and perfect for family dinners, potlucks, or meal prep for lunches.
- Make-ahead friendly: prepare the filling a day in advance and bake just before serving to save time on busy evenings.
- Crowd-pleaser with mild Mexican-inspired flavors that appeal to kids and adults alike, with simple swaps to increase spice or make it lower carb.
- Minimal equipment required — a skillet and a baking dish — and straightforward steps that are beginner-friendly.
Over the years I found small tricks that improved every batch: a quick steam bath in the baking dish keeps the peppers vibrant and tender, and spraying foil helps the cheese release cleanly. Family members always pick the pepper with a little extra cheese on top, and leftovers reheat beautifully in the oven or microwave for an easy next-day lunch.
Ingredients
- Water (1/2 cup): Used to create steam in the baking dish so the peppers tenderize without drying out. Tap water is fine, but filtered water prevents any off flavors.
- Bell peppers (3 large, halved): Choose firm, colorful peppers (red, yellow, or orange are sweeter). Remove stems, veins, and seeds and keep halves fairly uniform so they bake evenly.
- Olive oil (2 tbsp): Use a good-quality extra-virgin for flavor when sautéing the chicken and onion; it adds a subtle fruitiness that complements the salsa.
- Ground chicken (1 lb): Look for lean ground chicken or a 90/10 blend. It cooks quickly and soaks up seasoning well — if you prefer, ground turkey can be substituted.
- Yellow onion (1/2 cup, small dice): A small dice ensures the onion distributes into the filling and softens during cooking without large bites of raw onion.
- Salt (1/2 tsp) and black pepper (1/4 tsp): Basic seasoning to taste; add more if using low-sodium taco seasoning.
- Chicken taco seasoning (0.85 oz packet): Use a quality brand or homemade mix for depth. This seasoning is the primary spice layer, so choose one you enjoy.
- Mild jarred salsa (1/2 cup): Adds acidity and moisture. Mild keeps it family-friendly; use medium or hot to increase heat.
- Prepared white rice (1 cup cooked, Minute Rice): Helps bind the filling. Leftover rice works well; measure after cooking — about 1 cup cooked equals 1 serving worth for this recipe.
- Colby Jack cheese (8 oz, shredded): Melts creamy and adds a mild, buttery flavor. Cheddar or Monterey Jack are suitable alternatives.
- Fresh parsley or cilantro (1 tbsp, optional): Bright garnish that adds freshness at the end.
Instructions
Preheat and prepare the baking dish: Preheat the oven to 375°F. Pour 1/2 cup water into the bottom of a 9x13-inch baking dish; this will create steam during baking to tenderize the peppers without making them soggy. Arrange the peppers: Cut 3 large bell peppers in half lengthwise, removing stems, veins, and seeds. Place the halves in a single layer in the baking dish with the hollowed side up so they hold the filling and roast evenly. Sear the chicken and aromatics: Heat 2 tablespoons olive oil in a large skillet over medium-high heat. Add 1 lb ground chicken and 1/2 cup small-diced yellow onion, seasoning with 1/2 teaspoon salt and 1/4 teaspoon black pepper. Cook 5–6 minutes, stirring and breaking up the meat, until no pink remains and the onion is translucent. Season and deglaze: Stir in the 0.85 oz chicken taco seasoning packet and 1/2 cup mild salsa. Cook another 1–2 minutes allowing the spices to bloom and the salsa to meld with the meat. Taste and adjust seasoning if needed. Combine with rice: Turn off the heat and fold in 1 cup prepared white rice until everything is evenly distributed. The rice binds the filling and keeps it moist while baking; each pepper half will hold about 1/2 cup of filling. Fill and top with cheese: Spoon the chicken and rice mixture into each pepper half, filling generously. Sprinkle 8 oz shredded Colby Jack cheese evenly across the filled halves for a melty finish. Bake covered, then uncovered: Cover the dish with aluminum foil (lightly sprayed to prevent cheese sticking) and bake 20 minutes. Remove the foil and bake an additional 10–12 minutes until peppers are tender and cheese is golden. Internal filling should be hot and the pepper edges slightly softened. Garnish and serve: Remove from oven, garnish with 1 tablespoon chopped parsley or cilantro if desired, and serve warm. Leftovers reheat well in the oven at 350°F for 10–15 minutes.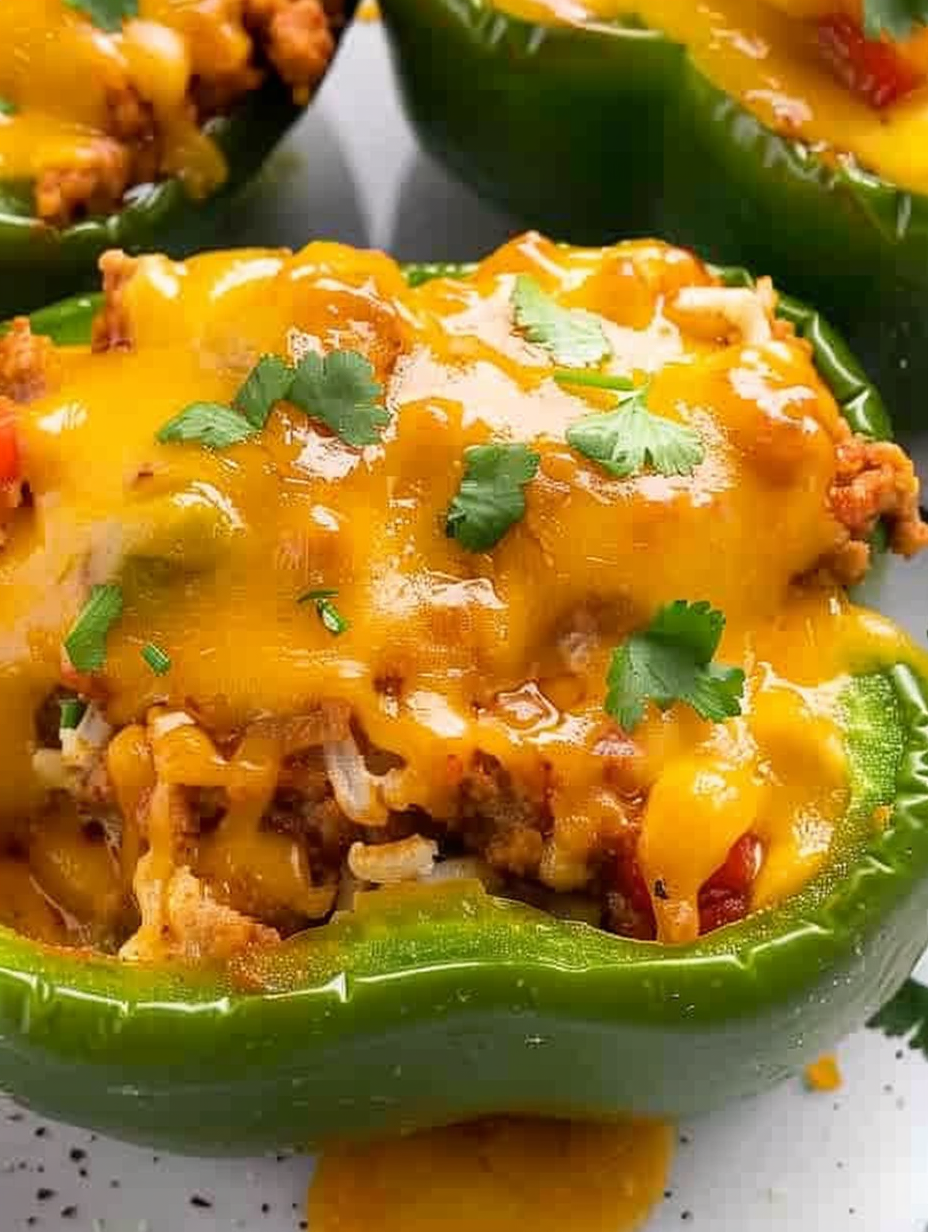
You Must Know
- These peppers freeze well for up to 3 months when wrapped airtight; thaw overnight in the refrigerator before reheating.
- Each stuffed pepper half contains roughly 373 calories with about 24 g protein, making this a balanced main for many households.
- Store leftovers in an airtight container in the refrigerator for up to 3–4 days; reheat in the oven for best texture.
- Pouring water into the baking dish creates a gentle steaming environment so peppers soften without collapsing or drying out.
My favorite part of this dish is how forgiving it is: whether you use leftover rice, add corn or black beans, or swap cheeses, the core method still produces consistently satisfying results. Family feedback usually singles out the melty cheese and bright salsa notes as the winning combination — and it’s easy to tweak heat levels for the pickiest eaters.
Storage Tips
Allow leftovers to cool to room temperature for no more than two hours, then store in airtight containers in the refrigerator for up to 3–4 days. For longer storage, wrap individual pepper halves tightly in plastic wrap and then foil, or place them in freezer-safe containers; they keep well for up to 3 months. Reheat from frozen in a 350°F oven for 25–35 minutes covered, then uncover for the last 5–10 minutes to crisp the cheese. Use a microwave for quick reheating — 2–3 minutes on medium power works for a single portion but may soften the pepper more than oven reheating.
Ingredient Substitutions
Swap ground turkey for ground chicken at a 1:1 ratio for a slightly different flavor, or use cooked shredded rotisserie chicken to save time — you may need to reduce added salt. For a lower-carb version, replace the rice with riced cauliflower (use about 1 1/2 cups cooked riced cauliflower). Use pepperjack or sharp cheddar to add heat, or a dairy-free cheese if avoiding dairy. For vegetarian eaters, replace the meat with a mix of cooked lentils and finely chopped mushrooms in equal volume; add an extra tablespoon of oil when sautéing to develop flavor.
Serving Suggestions
Serve these halves with a crisp green salad or roasted sweet potatoes for a balanced plate. Top with a dollop of Greek yogurt or sour cream, sliced avocado, or pickled jalapeños for brightness. For a Tex-Mex spread, accompany with black beans, corn salad, or warmed flour tortillas. Garnish with fresh cilantro, lime wedges, or a drizzle of hot sauce to individualize each portion.
Cultural Background
Stuffed peppers have roots across many cuisines, from Mediterranean versions filled with rice and herbs to Central and South American variations featuring spiced meats and corn. This recipe leans on American-Mexican flavors — using taco seasoning and salsa — which have become a popular fusion in home kitchens. The concept of baking a vegetable filled with a hearty mixture is centuries old; modern convenience ingredients like pre-cooked rice and jarred salsa simply make it faster for busy households.
Seasonal Adaptations
In summer, take advantage of peak bell peppers for maximum sweetness and color; try a mix of red, yellow, and orange for visual appeal. In colder months, add warming spices like smoked paprika or a pinch of cumin to the filling. For holiday gatherings, mini peppers work as bite-sized appetizers — reduce baking time and cut the filling smaller. Swap in roasted winter squash cubes or sweet potatoes as a seasonal variation for a heartier winter version.
Meal Prep Tips
Make the filling up to two days ahead and refrigerate; assemble and bake just before serving to keep peppers vibrant. Alternatively, fully assemble and freeze before baking — bake from frozen adding an extra 15–20 minutes to the covered baking time. Pack single portions in meal-prep containers with a small lime wedge and a separate cup of salsa or yogurt for topping just before eating.
These stuffed peppers are a friendly, adaptable dish that rewards small investments of time with big flavor and easy leftovers — perfect for making weeknight dinners feel a little more special. I hope you make them your own and enjoy sharing them as much as I have.
Pro Tips
Pour 1/2 cup water into the baking dish to create steam that tenderizes the peppers without overcooking them.
Spray aluminum foil with cooking spray before covering to prevent melted cheese from sticking and tearing when removed.
Use a small dice for the onion so it blends into the filling and softens quickly while sautéing.
If using leftover rice straight from the fridge, fluff it first to break up clumps so it mixes evenly with the chicken.
This nourishing chicken stuffed peppers recipe is sure to be a staple in your kitchen. Enjoy every moist, high protein slice — it is perfect for breakfast or as a wholesome snack any time.
FAQs about Recipes
Can I freeze these stuffed peppers?
Yes — assemble and freeze unbaked for up to 3 months. Bake from frozen, covered, at 375°F adding about 15–20 minutes to the baking time.
What rice should I use?
Use cooked white rice, Minute Rice, or leftover rice measured after cooking (1 cup cooked). For lower carbs, try riced cauliflower.
How do I know when peppers are done?
Bake until peppers are tender and the cheese is bubbly. If unsure, test the thickest pepper with a knife — it should slide in easily.
Tags
Chicken Stuffed Peppers
This Chicken Stuffed Peppers recipe makes perfectly juicy, tender, and flavorful steak every time! Serve with potatoes and a side salad for an unforgettable dinner in under 30 minutes.
Ingredients
Main
Instructions
Preheat and prepare dish
Preheat oven to 375°F and pour 1/2 cup water into a 9x13-inch baking dish to create steam during baking.
Arrange peppers
Halve and deseed 3 large bell peppers, then place them in the baking dish with the hollowed side facing up in a single layer.
Cook chicken and onion
Heat 2 tablespoons olive oil in a large skillet over medium-high heat. Add 1 pound ground chicken and 1/2 cup small-diced yellow onion with 1/2 teaspoon salt and 1/4 teaspoon pepper. Cook 5–6 minutes until no pink remains.
Add seasoning and salsa
Stir in the 0.85 ounce taco seasoning packet and 1/2 cup mild salsa. Cook 1–2 minutes to allow flavors to meld.
Mix in rice
Turn off the heat and add 1 cup prepared white rice, stirring to combine thoroughly so the filling holds together.
Fill peppers and top with cheese
Spoon filling into each pepper half (about 1/2 cup per half) and evenly top with 8 ounces shredded Colby Jack cheese.
Bake covered then uncovered
Cover with lightly sprayed aluminum foil and bake 20 minutes. Remove foil and bake an additional 10–12 minutes until peppers are tender and cheese is bubbly.
Garnish and serve
Garnish with chopped parsley or cilantro if desired and serve warm. Store leftovers in the refrigerator for 3–4 days.
Last Step: Please leave a rating and comment letting us know how you liked this recipe! This helps our business to thrive and continue providing free, high-quality recipes for you.
Nutrition
Did You Make This?
Leave a comment & rating below or tag
@silksavor on social media!
Categories:
You might also like...

Parmesan Herb Crusted Salmon
Tender baked salmon crowned with a garlicky Parmesan herb crust, bright lemon, and buttery crunch. Simple to make, stunning to serve, and irresistibly flavorful.

Caramel Apple Cheesecake Bars
Buttery graham crust, silky cheesecake, and cinnamon-kissed apples under a crunchy crumb, finished with glossy caramel. A fall crowd-pleaser you will crave.

Homemade Green Bean Casserole
Tender green beans in silky mushroom cream, crowned with crispy onions. A comforting holiday side made entirely from scratch that always disappears fast.
Did You Make This?
Leave a comment & rating below or tag @silksavor on social media!
Rate This Recipe
Share This Recipe
Enjoyed this recipe? Share it with friends and family, and don't forget to leave a review!
Comments (1)
This recipe looks amazing! Can't wait to try it.
Comments are stored locally in your browser. Server comments are displayed alongside your local comments.

Hi, I'm Julia!
What's Popular

30-Minute Meals!
Join to receive our email series which contains a round-up of some of our quick and easy family favorite recipes.