
>>

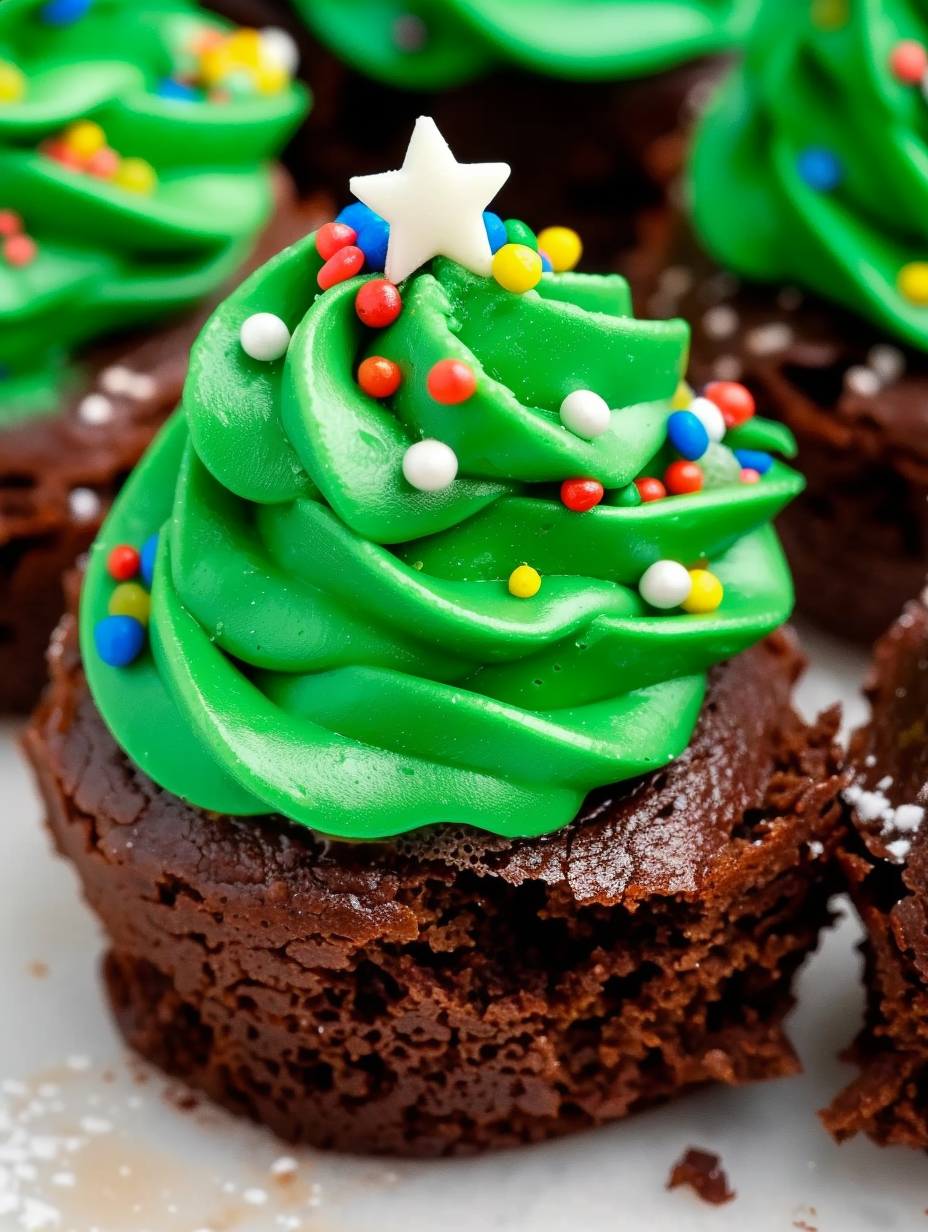
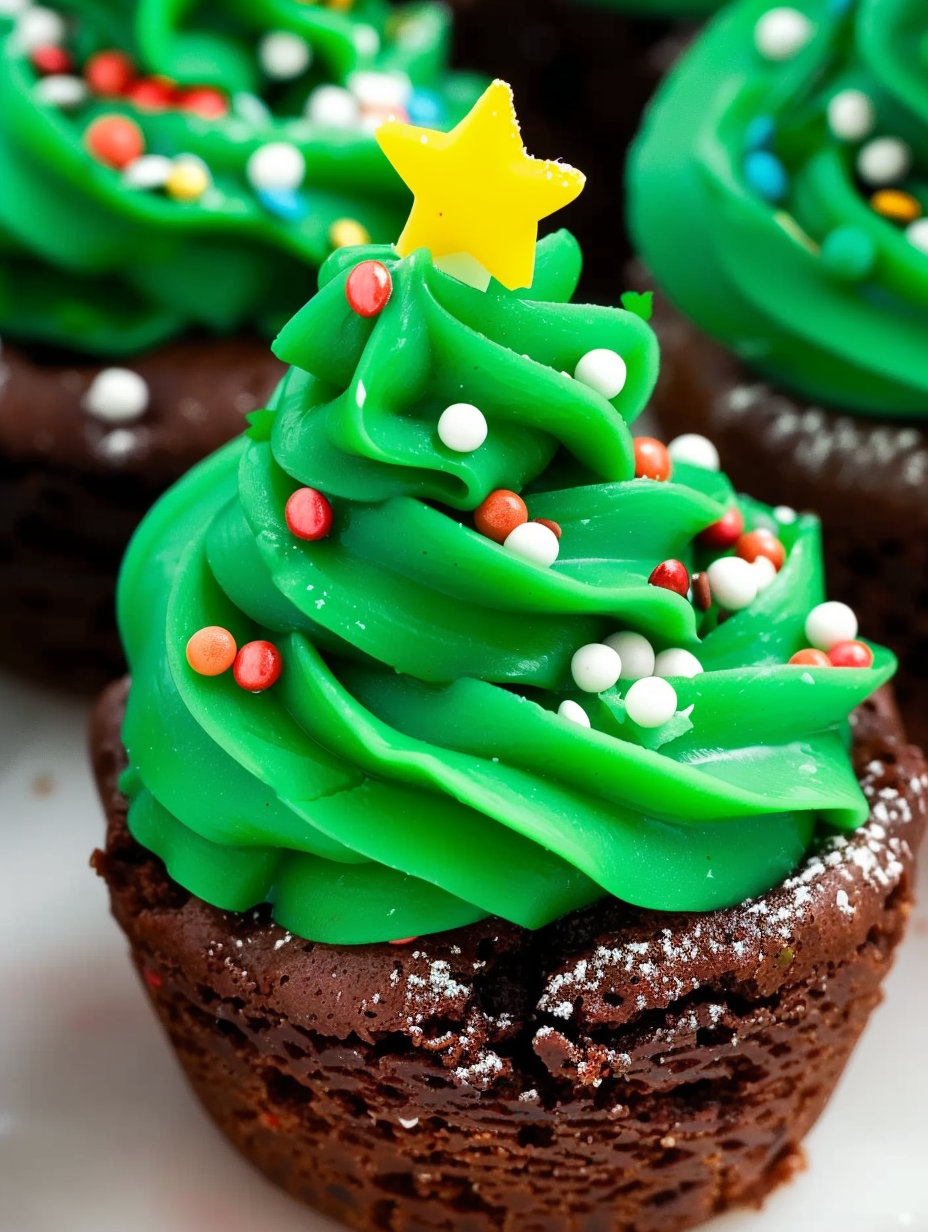
Mini brownie bites piped with green vanilla buttercream into festive Christmas tree shapes—easy, crowd-pleasing holiday treats perfect for dessert boards or parties.
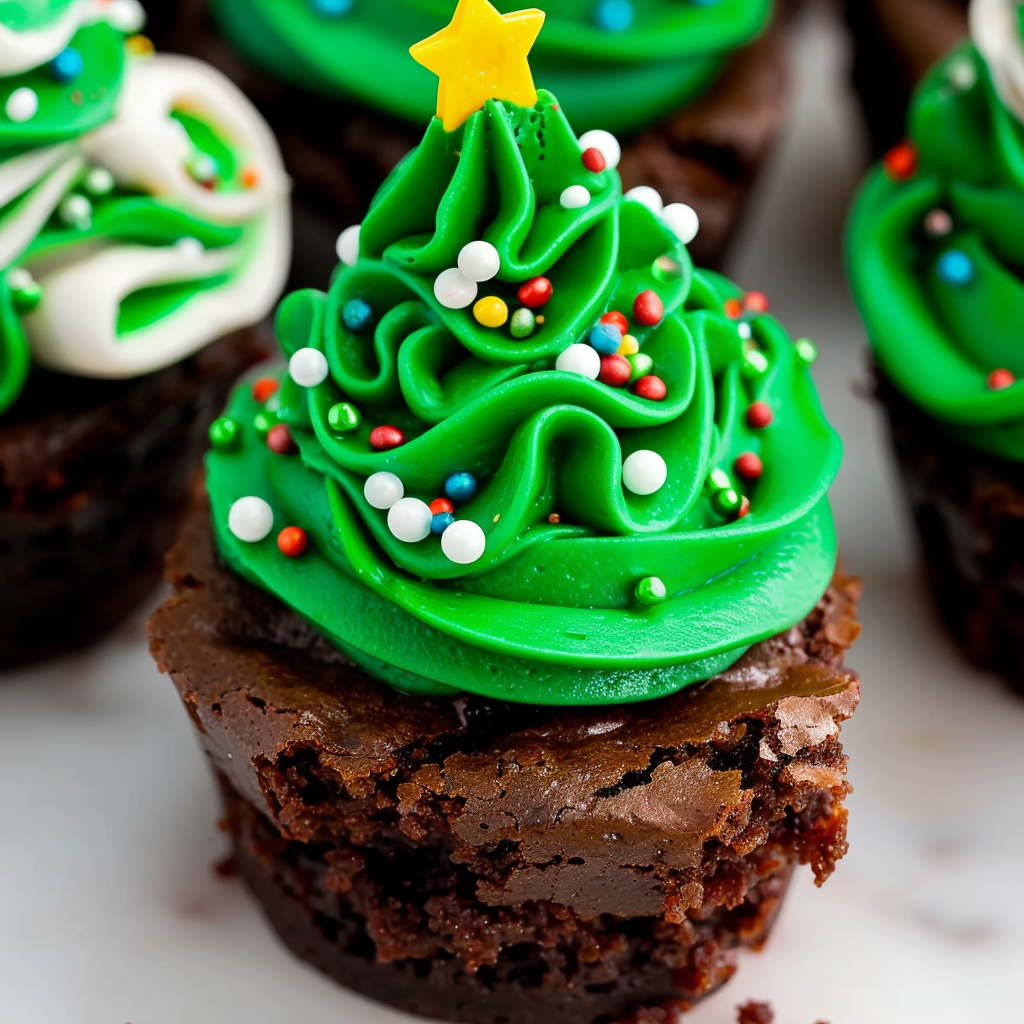
These Christmas Tree Brownie Bites have been my go-to addition to holiday dessert spreads for years. I first made them on a snowy December afternoon when I needed something fast, festive, and kid-friendly for a small neighborhood cookie swap. The idea was simple: take soft, fudgy brownie bites and transform them into tiny evergreen trees with a swirl of vanilla buttercream. The contrast between the dense, chocolatey base and the airy, sweet frosting is exactly what makes these so addictive—each bite delivers fudge, cream, and a little crunch from the sprinkles.
I learned quickly that the presentation matters as much as the taste. Piping a neat tree with a Wilton 1M tip creates distinct ridges that catch the light and hold decoration, and adding multicolored nonpareils makes them look like miniature lit trees. Over multiple holiday gatherings, these bites earned a reputation: the kids asked for the stars, adults reached for seconds, and I appreciated how stress-free they were to prepare. Whether you make the brownie bites from scratch or choose a high-quality store-bought option, these little confections bring cheer with very little fuss.
Personally, I love the way these bring everyone together—decorating with bright nonpareils became a small family ritual. One year my niece insisted on a pink tree, and that ended up being the most photographed treat at the party. They’re not just visually appealing; they’re a memory-maker.
My favorite part is the decorating: at a recent holiday brunch, a neighbor who never bakes asked for the recipe and ended up bringing a whole platter home. These bites have a way of disappearing fast—always a good sign. I particularly enjoy swapping nonpareil colors each year to match themes—copper and gold look stunning for an elegant party.
Store the finished bites loosely covered in an airtight container in the refrigerator for up to 48 hours. If you need to keep them longer, flash-freeze them on a baking sheet until firm, then pack in layers separated by parchment in a freezer-safe container for up to three months. To thaw, move them to the refrigerator overnight, then bring to room temperature for 20–30 minutes before serving so the frosting softens and the brownie regains chewiness. Avoid stacking too many layers without separation to prevent smudging of the frosting design.
If you want a dairy-free version, use a dairy-free butter and a vegan buttercream made from vegetable shortening or a plant-based margarine. For gluten-free needs, choose certified gluten-free brownie mix or use almond flour-based mini brownies. To reduce sugar slightly, use a lower-sugar frosting recipe or omit extra decorative sugars; keep in mind that altering sugar levels changes texture and pipeability. Chocolate lovers can swap vanilla buttercream for chocolate ganache piped with a star tip for a richer take.
These bites shine on a holiday dessert board paired with peppermint bark, salted caramels, and small cookies for a variety of textures. Arrange them in groups of 6–8 with sprigs of fresh rosemary to mimic evergreen branches for a visual effect. For a kid-friendly platter, include small bowls of extra sprinkles so guests can personalize a few. They also work well as edible place settings—place one on each plate for a festive touch at a holiday dinner.
In winter, use deep green frosting and red-gold nonpareils for classic colors. For a spring or Easter event, switch to pastel frosting shades—soft mint green or pale pink—and use flower sprinkles instead of stars. At New Year’s parties, pipe the trees with metallic edible dust or use gold-tinted chocolate stars. For a Halloween twist, color the frosting black with food-safe charcoal or green and add candy eyes for a spooky forest theme.
To prepare a large batch ahead of time, bake or buy the brownie bites up to three days in advance and refrigerate them. Make the buttercream the day before and keep it covered in the refrigerator; bring it back to room temperature and re-whip for fluff before piping. For parties, pipe the trees the morning of the event for the freshest look, or pipe and freeze them on a tray then transfer to containers—thaw gently before serving to retain shape and texture.
These Christmas Tree Brownie Bites are as much about the memories as they are about the flavor. They’re quick, adaptable, and bring a lot of festive joy to any table. Try them with different sprinkle palettes and enjoy the little moments of delight they create.
Chill the brownie bites thoroughly before piping to prevent the buttercream from melting and sliding off.
Practice piping on parchment to get comfortable with pressure and motion before decorating the real pieces.
Use gel rather than liquid food coloring to avoid thinning the buttercream and changing its consistency.
Fill the pastry bag only halfway to maintain better control and avoid excess hand fatigue.
If the buttercream is too firm, microwave in 5–7 second bursts and re-whip to achieve pipeable consistency.
This nourishing christmas tree brownie bites recipe is sure to be a staple in your kitchen. Enjoy every moist, high protein slice — it is perfect for breakfast or as a wholesome snack any time.
Yes—store-bought brownie bites and canned vanilla frosting work well for a quick version; color the frosting with gel food coloring before piping.
Bring refrigerated bites to room temperature for 20–30 minutes before serving for best texture—this softens the buttercream and chewy brownie center.
Flash-freeze on a tray until firm, then layer with parchment in a freezer-safe container for up to 3 months. Thaw in the refrigerator overnight.
This Christmas Tree Brownie Bites recipe makes perfectly juicy, tender, and flavorful steak every time! Serve with potatoes and a side salad for an unforgettable dinner in under 30 minutes.
Place baked or unwrapped brownie bites on a wire rack and cool completely so the frosting won’t melt on contact.
Mix about 3 cups of vanilla buttercream with green gel food coloring until a vibrant evergreen color is achieved, keeping the buttercream smooth and pipeable.
Fit a disposable pastry bag with a Wilton 1M tip and fill halfway. Practice piping on parchment to establish a steady pressure and motion.
Pipe concentric swirls from top to bottom to form a three-tiered tree on each brownie bite, keeping steady pressure for defined ridges.
Press nonpareils into the frosting as lights and place a star sprinkle on top. Add a pretzel trunk if desired. Refrigerate loosely covered until serving.
Last Step: Please leave a rating and comment letting us know how you liked this recipe! This helps our business to thrive and continue providing free, high-quality recipes for you.
Leave a comment & rating below or tag
@silksavor on social media!

Tender baked salmon crowned with a garlicky Parmesan herb crust, bright lemon, and buttery crunch. Simple to make, stunning to serve, and irresistibly flavorful.

Buttery graham crust, silky cheesecake, and cinnamon-kissed apples under a crunchy crumb, finished with glossy caramel. A fall crowd-pleaser you will crave.

Tender green beans in silky mushroom cream, crowned with crispy onions. A comforting holiday side made entirely from scratch that always disappears fast.
Leave a comment & rating below or tag @silksavor on social media!
Enjoyed this recipe? Share it with friends and family, and don't forget to leave a review!
This recipe looks amazing! Can't wait to try it.
Comments are stored locally in your browser. Server comments are displayed alongside your local comments.

Join to receive our email series which contains a round-up of some of our quick and easy family favorite recipes.
