
>>

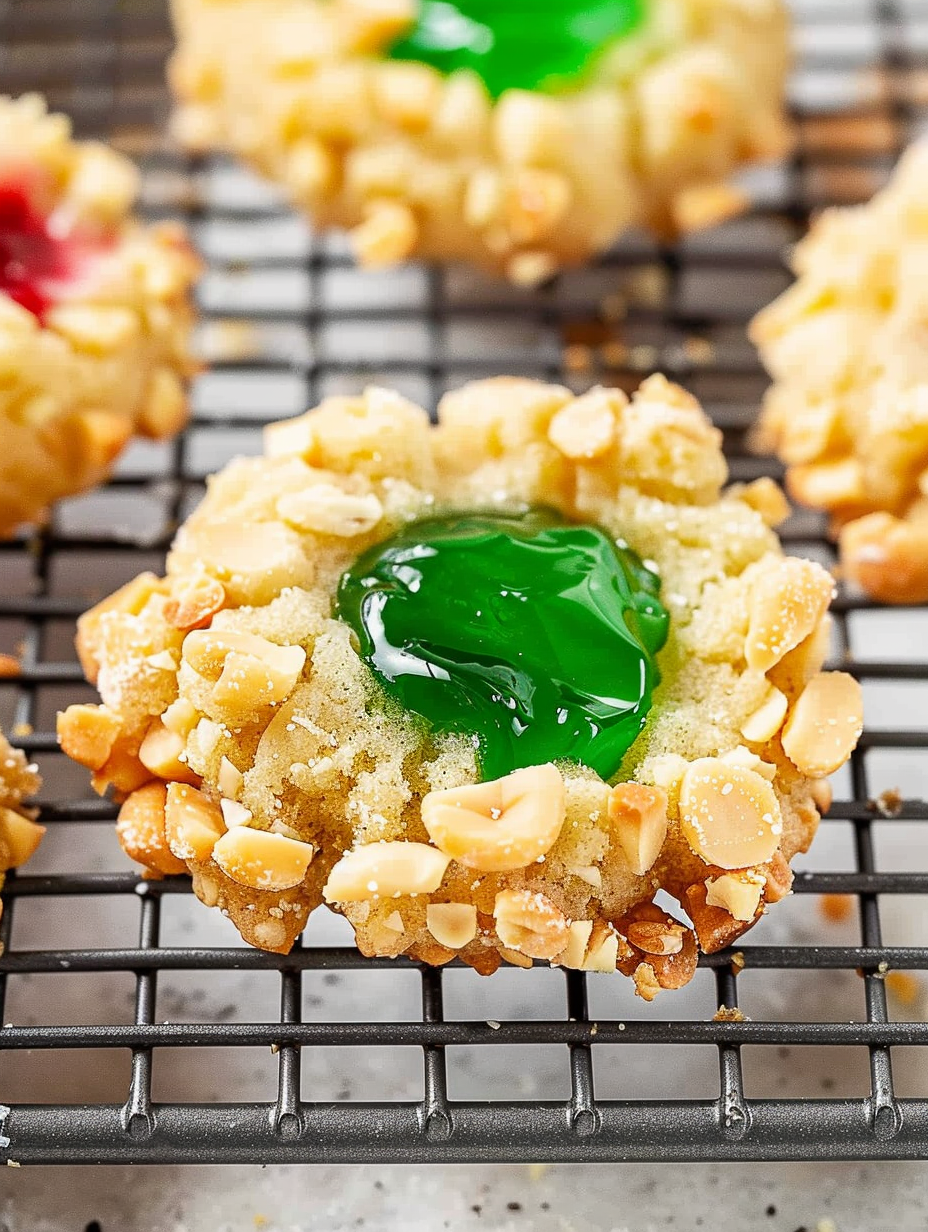
Classic jelly thumbprint cookies studded with chopped peanuts and a jewel-like jam center—perfect for holiday baking, gift tins, and cookie swaps.
I remember bringing a tin of these to a tree-trimming night and watching them disappear first; someone asked if I could teach them to make them the next week. My family loves the slight saltiness from the peanuts against the jam, and it’s become a little holiday tradition to let everyone choose a different jelly color so the tray looks festive.
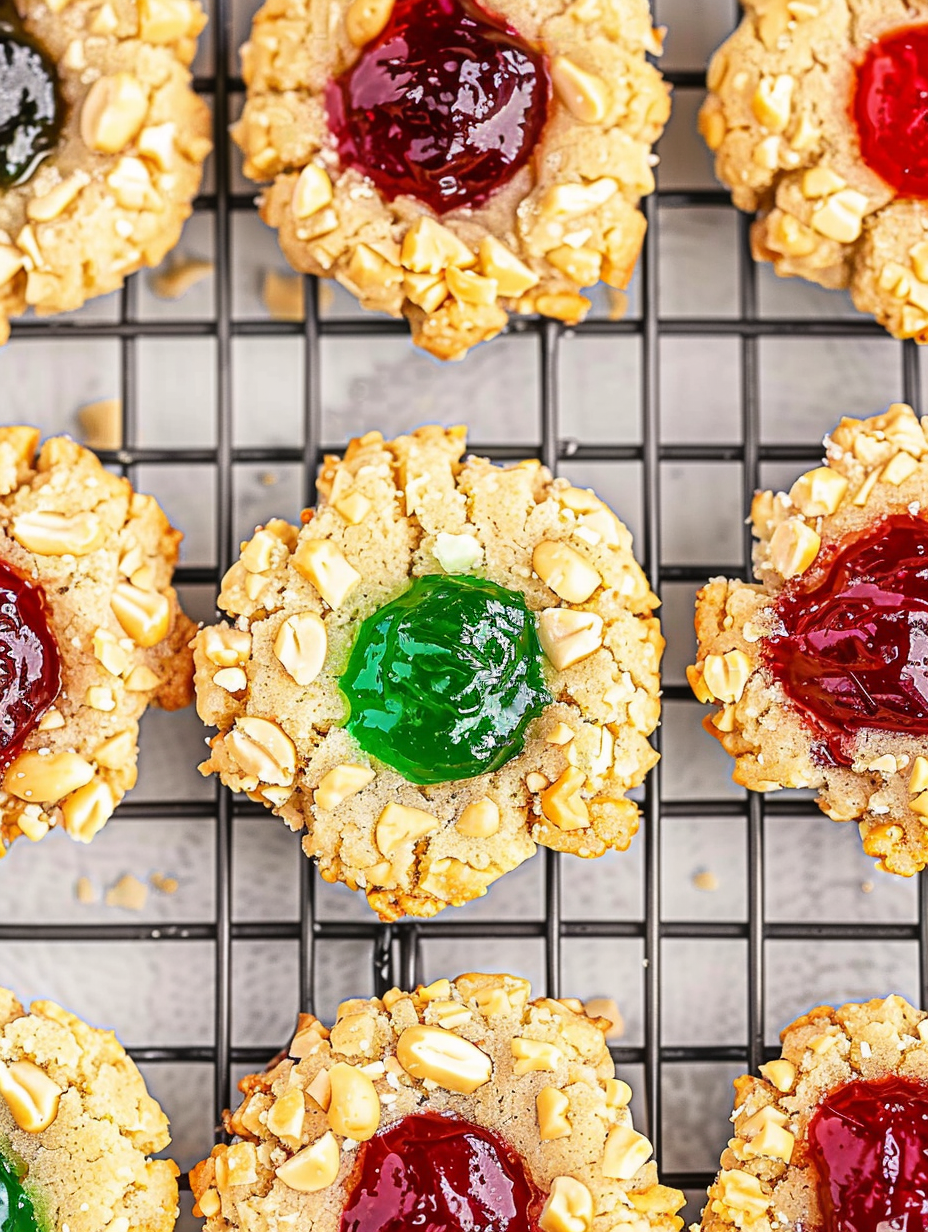
My favorite part is watching the jam set just a bit while the cookies cool: that glossy, jewel-like center is instantly nostalgic. One year I used a mix of cherry and lime jellies to make a holiday red-and-green tray—kids loved picking their favorite colors, and the variety makes a simple plate feel festive and abundant.
Store completely cooled cookies in a single layer or with parchment between layers in an airtight container at room temperature for up to five days. For longer storage, freeze on a sheet tray until firm, then pack in a freezer-safe tin or bag for up to three months. Thaw at room temperature; if you like the jam slightly warm, pop a small stack in a 250°F oven for 5 minutes to refresh them. Avoid refrigerating—cold air can dry the cookies and make them lose their tender crumb.
If peanuts are an issue, use chopped pecans or almonds for similar texture—pecans add buttery richness while almonds lend a clean crunch. Swap almond extract for 1 teaspoon vanilla extract if you prefer a more traditional flavor profile. For a gluten-free version, replace the all-purpose flour with a 1:1 gluten-free flour blend and chill the dough a little longer before shaping to help it hold together.
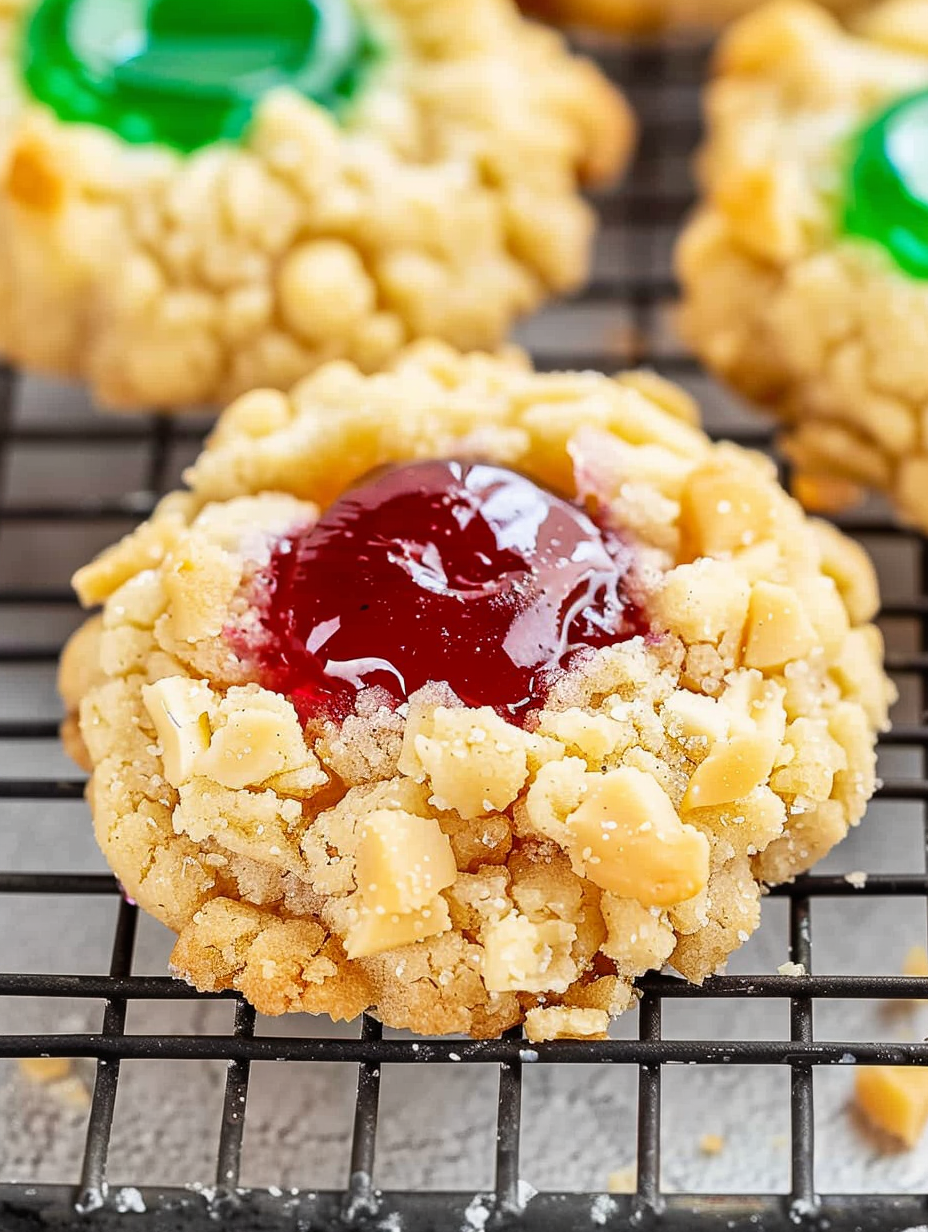
Arrange on a festive platter with mixed jellies for color contrast—cherry, apricot, and lemon curd each bring a different taste. Serve alongside coffee, mulled wine or hot cocoa for holiday parties. These cookies make excellent additions to a dessert board with nuts, chocolate squares and dried fruits. Tie small stacks with ribbon for edible gifts that look as thoughtful as they taste.
Thumbprint-style cookies have roots in Scandinavian baking traditions, where small filled biscuits often used fruit preserves to add sweetness and color. Over time, the format spread across Europe and North America, with regional tweaks—this version pairs the classic thumbprint with chopped peanuts, giving a distinctly American, nut-forward twist often seen in holiday baking tables.
In winter, choose red and green jellies for a holiday plate; in summer, bright raspberry or apricot preserves feel light and fruity. Add citrus zest to the dough for spring, or mix in 1/4 cup of finely chopped dried cranberries for a tart contrast. For autumn, swap almond extract for a hint of cinnamon and use apple butter in place of jelly for a cozy twist.
Prepare the dough a day ahead and keep it wrapped in the refrigerator—shape and bake the following day. Alternatively, freeze portioned dough balls on a sheet and transfer to a bag; bake from frozen, adding 1 to 2 minutes to the baking time. This makes it easy to pull fresh-baked cookies for unexpected guests without last-minute work.
These Jelly Thumbprint Cookies are straightforward, festive and reliably popular—perfect for sharing, gifting, and keeping a few tucked away for yourself. I hope they become a favorite in your holiday rotation as they have in mine.
Use a tablespoon or small cookie scoop for consistent 1-inch dough balls to ensure even baking.
Only use about 1 teaspoon of jelly per cookie to prevent overflow and burning during baking.
Cool cookies completely on the sheet to let the jam set before transferring to containers.
This nourishing jelly thumbprint cookies recipe is sure to be a staple in your kitchen. Enjoy every moist, high protein slice — it is perfect for breakfast or as a wholesome snack any time.
This Jelly Thumbprint Cookies recipe makes perfectly juicy, tender, and flavorful steak every time! Serve with potatoes and a side salad for an unforgettable dinner in under 30 minutes.
Cream softened butter and light brown sugar until smooth. Mix in the egg yolk and almond extract, then stir in the flour and kosher salt until a soft dough forms. Chill briefly if too soft.
Measure dough into 1-inch balls using a tablespoon or small scoop. Roll between palms to smooth; consistent sizing ensures even baking.
Whisk the reserved egg white until frothy. Dip each dough ball in the egg white, then roll in chopped peanuts, pressing gently to adhere.
Place balls on a parchment-lined sheet. Press a shallow well with your thumb or the back of a spoon and place approximately 1 teaspoon of jelly into each indent.
Bake at 350°F for 12 to 14 minutes until the nuts begin to brown. Cool completely on the baking sheet so the jelly sets before transferring to a container.
Last Step: Please leave a rating and comment letting us know how you liked this recipe! This helps our business to thrive and continue providing free, high-quality recipes for you.
Leave a comment & rating below or tag
@silksavor on social media!

Tender baked salmon crowned with a garlicky Parmesan herb crust, bright lemon, and buttery crunch. Simple to make, stunning to serve, and irresistibly flavorful.

Buttery graham crust, silky cheesecake, and cinnamon-kissed apples under a crunchy crumb, finished with glossy caramel. A fall crowd-pleaser you will crave.

Tender green beans in silky mushroom cream, crowned with crispy onions. A comforting holiday side made entirely from scratch that always disappears fast.
Leave a comment & rating below or tag @silksavor on social media!
Enjoyed this recipe? Share it with friends and family, and don't forget to leave a review!
This recipe looks amazing! Can't wait to try it.
Comments are stored locally in your browser. Server comments are displayed alongside your local comments.

Join to receive our email series which contains a round-up of some of our quick and easy family favorite recipes.
