
>>

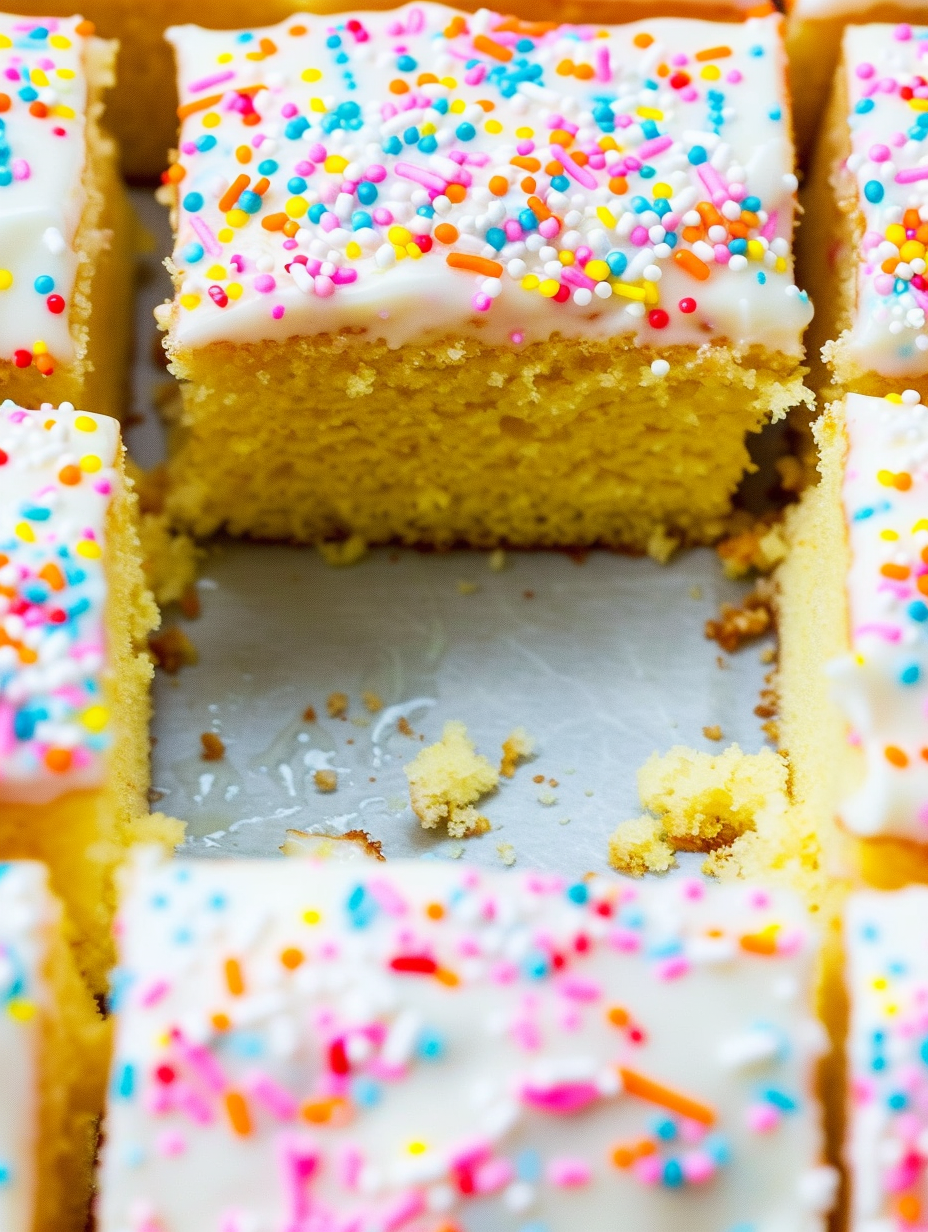
A nostalgic vanilla sponge tray bake topped with icing and colorful sprinkles — an easy school-dinner classic that's quick to make and impossible to resist.

This vanilla sponge tray bake has been a comfort-food icon in my kitchen for years, transporting me straight back to school dinners and packed-lunch nostalgia every time I slice into it. I first rediscovered this straightforward combination during a busy week when I needed something that would please a crowd without fuss. The result was an impossibly soft sponge, glossy white icing, and a snow of tiny rainbow sprinkles — simple, cheerful and reliably delicious.
What makes this old-school tray bake special is its unfussy technique and forgiving nature. The batter comes together in one bowl, using basic pantry staples, and the texture is light and tender thanks to the self-raising flour and the gentle folding method. The thin, sugary icing seals in moisture and creates the perfectly retro finish kids love: bright, glossy and delightfully sweet. Serve it sliced into generous squares and watch it disappear at tea time.
I’ve served this at casual family get-togethers and taken it to potlucks; everyone comes back for a second slice. My neighbour always asks for the recipe after tasting it warm with a cup of tea on cold afternoons — the cake’s simple sweetness and soft crumb are a comforting contrast to busy modern life. It’s the kind of tray bake you make when you want happy faces rather than culinary fanfare.

My favourite thing about this cake is its honest simplicity: a handful of staples transformed into something that brightens a rainy afternoon. I once brought this to a school fundraiser and watched it vanish within an hour — the sprinkles always swing opinions in its favour, and the glossy white icing takes people straight back to childhood canteens. It’s humble, cheerful and utterly dependable.
Store the tray bake at room temperature in an airtight tin or container; this keeps the crumb soft and prevents the icing from sweating. Avoid refrigeration — cooler temperatures accelerate staling and dry the cake. For longer storage, slice into squares, wrap each piece tightly in cling-film and place in a freezer-safe container or bag for up to 3 months. To reheat, thaw at room temperature and warm briefly in a low oven (150°C/300°F) for 5–7 minutes to refresh the texture, or microwave single slices for 10–15 seconds if you’re impatient.
If you don’t have self-raising flour, make your own by combining 2 cups plain flour with 3 teaspoons baking powder and a pinch of salt. Swap margarine for unsalted butter for a richer flavour — use the same weight. For a dairy-free or vegan adaptation, use a plant-based block spread and replace eggs with commercial egg replacer or a combination of 1/4 cup applesauce + 1/2 teaspoon baking powder per egg (results will be slightly different in texture). For a lighter crumb, replace up to 25% of the flour with superfine ground oats, but note the texture will be slightly more rustic.
Serve slices with a pot of strong tea or a milky cup of coffee for the classic British experience. For celebrations, top slices with a dollop of softly whipped cream or mascarpone and a scattering of fresh berries to contrast the sweet icing. Cut into small squares for party platters or pack into lunchboxes with a napkin for school lunches and picnics. Garnish with a dusting of extra icing sugar around the plate for an elevated yet nostalgic presentation.
This tray bake sits firmly in British home baking tradition: simple, economical and designed for sharing. The idea of a sheet or tray sponge slathered in icing and sprinkles was common in school canteens and community bake sales across the UK from the mid-20th century onwards. It reflects a time when cakes were judged on comfort and accessibility — not complexity. Many families have a version passed down through generations, and regional variations often include lemon icing or a dusting of desiccated coconut instead of sprinkles.
In spring, add a teaspoon of lemon zest to the batter and swap sprinkles for chopped crystallised ginger for brightness. For autumn or winter, fold in 1/2 teaspoon ground cinnamon and top with toffee bits instead of rainbow sprinkles. For festive occasions, colour the icing to match a theme and use seasonal decorations like edible glitter or chopped pistachios. Simple swaps keep the base recipe familiar while adapting it to holidays and seasonal produce.
Make the cake a day ahead: bake, cool and ice it the evening before serving to let the icing fully set and the flavours settle. For packed lunches, cut into smaller squares and wrap individually; this helps portion control and prevents the icing from sticking together. Keep an extra batch of the icing in a small airtight tub and spoon a little onto thawed slices if you want fresher icing after freezing. Store in a cool, dry place away from direct sunlight to preserve the sprinkles’ colour and texture.
This old-school sprinkle sponge tray bake is unfussy, nostalgic and endlessly adaptable — a true crowd-pleaser. Whether you’re feeding a school bake sale, a casual tea party or simply craving a slice of childhood comfort, this tray bake delivers every time. Enjoy experimenting with flavours and decorating options, and don’t be surprised when it becomes a staple in your baking repertoire.
Bring eggs and margarine to room temperature before mixing to create a smooth, stable batter.
Sift dry ingredients to avoid lumps and to aerate the flour for a lighter crumb.
Check doneness at 25 minutes with a skewer to avoid over-baking; the skewer should come out clean.
This nourishing old school sprinkle sponge tray bake recipe is sure to be a staple in your kitchen. Enjoy every moist, high protein slice — it is perfect for breakfast or as a wholesome snack any time.
Yes. Cool completely, wrap in cling-film or an airtight container, and freeze for up to 3 months. Thaw at room temperature before serving.
No — store it at room temperature in an airtight container for up to 5 days. Fridge storage will dry the cake out.
This Old School Sprinkle Sponge Tray Bake recipe makes perfectly juicy, tender, and flavorful steak every time! Serve with potatoes and a side salad for an unforgettable dinner in under 30 minutes.
Preheat oven to 180°C (160°C fan). Line a 9x13-inch baking tin with parchment paper and grease lightly.
Beat room-temperature margarine and caster sugar until pale and fluffy, about 3–4 minutes with an electric mixer.
Add eggs one at a time, mixing fully between additions to form a stable batter and prevent curdling.
Sift and fold self-raising flour into the mixture in two additions, using a spatula and a light hand to avoid overworking.
Stir in vanilla and optional milk until the batter is smooth and ribbon-like; add a teaspoon more milk if too stiff.
Pour batter into the prepared tin, spread evenly and bake for 25–30 minutes. Test doneness with a skewer — it should come out clean.
Mix sifted icing sugar with warm water to a pourable consistency. Pour over cooled cake, spread, then sprinkle with hundreds and thousands. Allow to set before slicing.
Last Step: Please leave a rating and comment letting us know how you liked this recipe! This helps our business to thrive and continue providing free, high-quality recipes for you.
Leave a comment & rating below or tag
@silksavor on social media!

Tender baked salmon crowned with a garlicky Parmesan herb crust, bright lemon, and buttery crunch. Simple to make, stunning to serve, and irresistibly flavorful.

Buttery graham crust, silky cheesecake, and cinnamon-kissed apples under a crunchy crumb, finished with glossy caramel. A fall crowd-pleaser you will crave.

Tender green beans in silky mushroom cream, crowned with crispy onions. A comforting holiday side made entirely from scratch that always disappears fast.
Leave a comment & rating below or tag @silksavor on social media!
Enjoyed this recipe? Share it with friends and family, and don't forget to leave a review!
This recipe looks amazing! Can't wait to try it.
Comments are stored locally in your browser. Server comments are displayed alongside your local comments.

Join to receive our email series which contains a round-up of some of our quick and easy family favorite recipes.
