
>>

Crispy, golden fried mushrooms with two easy breading options—thin and thick—ready in minutes. A family-favorite appetizer that's simple, flexible, and utterly delicious.
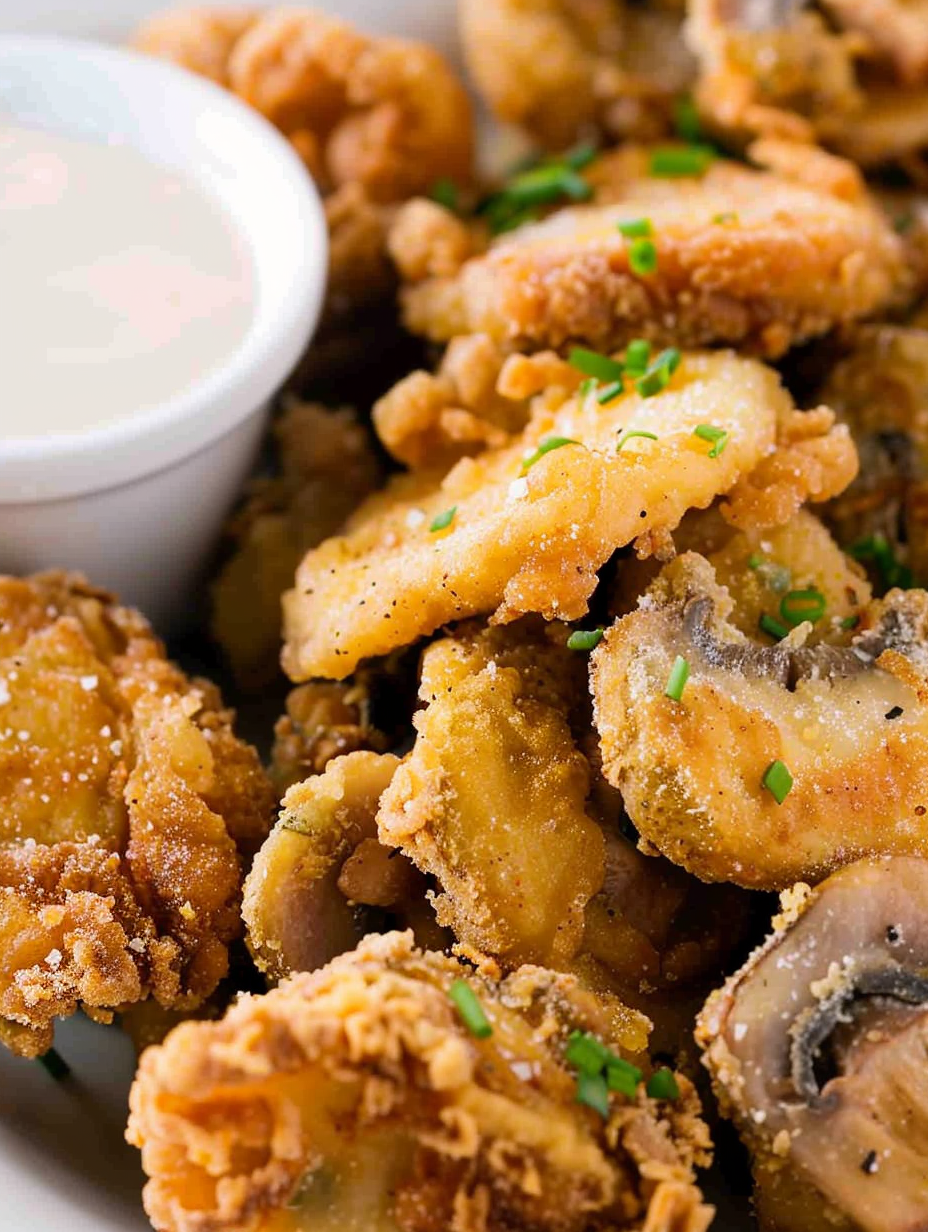
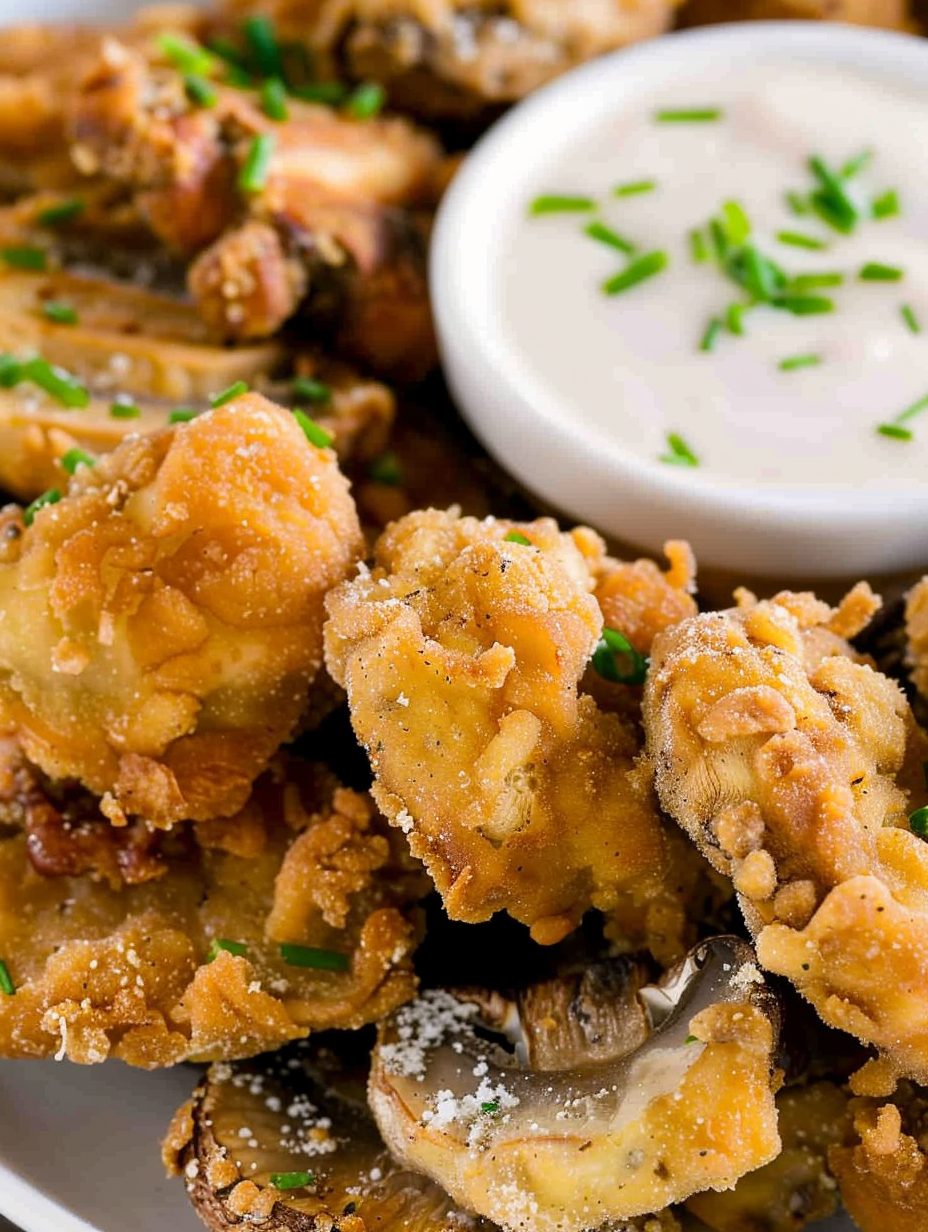
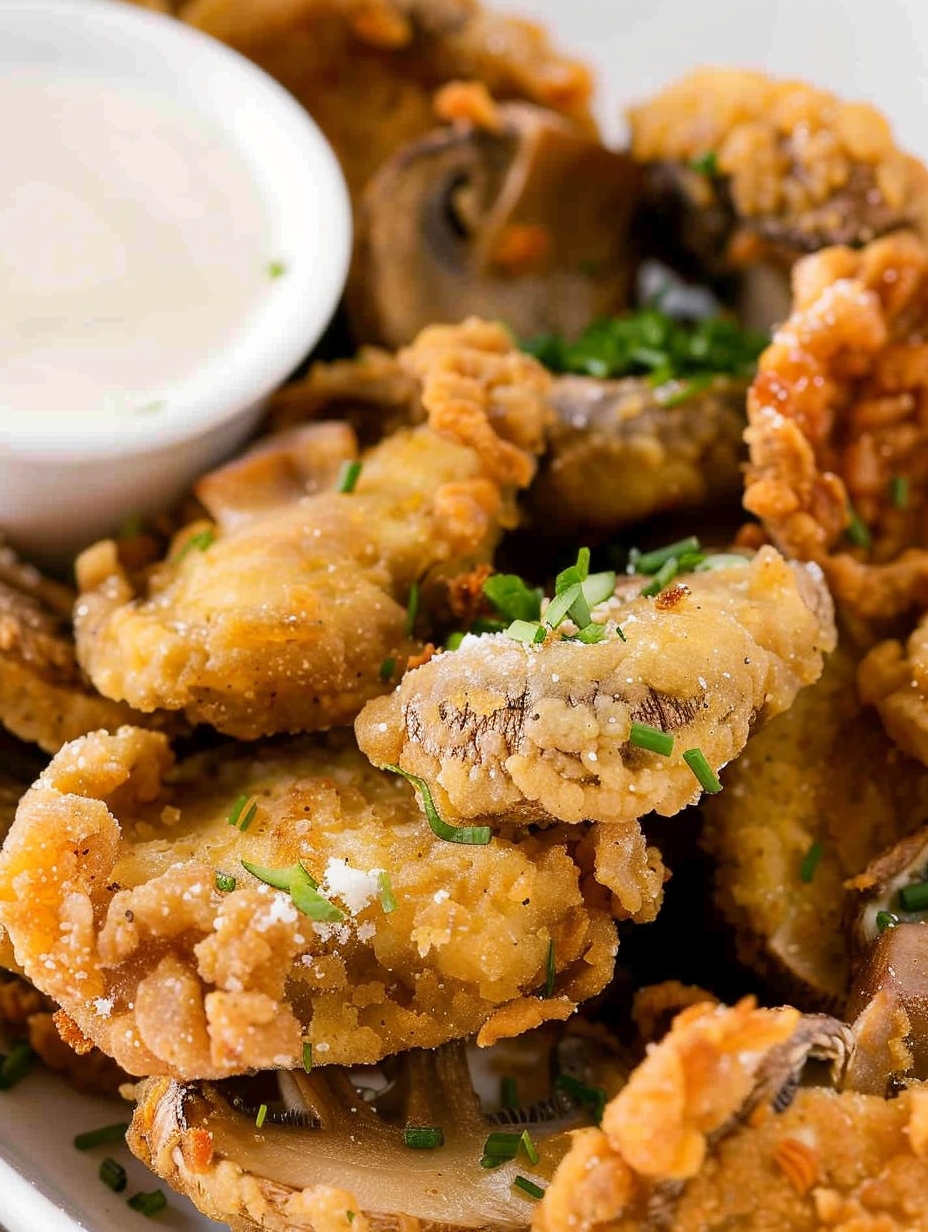
This fried mushrooms recipe has been a quick crowd-pleaser in my kitchen for years. I first developed this two-option approach on a weeknight when I wanted something crunchy and satisfying but didn't want to fuss over complicated steps. The result was so good that it became our go-to appetizer for casual dinners and game-day gatherings. The mushrooms come out with a delicate exterior and juicy interior—earthy, slightly sweet, and perfect with a tangy dipping sauce.
I often make a batch when friends drop by because it’s fast: about 10 minutes of active prep and only 5 minutes in the pan or fryer. I’ll share why choosing between a thin or thicker breading matters, what to look for at the store, and how to get consistent results whether you pan-fry in an inch of oil or deep-fry at 375°F. These mushrooms are forgiving, adaptable to what you have on hand, and they spark the same “wow” reaction from guests every time.
My family always asks for seconds—my teenager especially loves the thicker breading for dunking into ranch or spicy aioli. Over time I’ve learned little tricks (like drying mushrooms thoroughly and testing oil temperature with a pinch of flour) that make the difference between greasy and perfectly crisp.
My favorite part is how quickly this comes together—when friends arrive unexpectedly, I can turn on the oil and have a warm appetizer on the table in minutes. The thicker breading is a hit with dipping sauces, while the thin coat lets the mushroom’s natural texture shine. Over the years I’ve switched brands and adjusted seasoning levels to suit family preferences, and the method remains reliably good.
Store fried mushrooms in an airtight container in the refrigerator for up to 48 hours. For short-term holding before serving, keep them on a wire rack in a warm (200–225°F) oven so they stay crisp without continuing to cook. To freeze, spread cooled mushrooms on a baking sheet in a single layer and freeze until solid; transfer to a freezer bag and keep up to one month. Reheat from frozen in a preheated 400°F oven for 8–12 minutes, flipping halfway to restore crunch.
If you need a gluten-free option, use a 1:1 gluten-free flour blend and dry breadcrumbs made from gluten-free bread for a thicker coat. For egg-free binding, use 2 tablespoons of plant milk mixed with 1 tablespoon cornstarch to help flour adhere. Try panko in place of all-purpose flour for an extra crunchy crust (use panko only in the thicker method). Swap white button mushrooms for baby portobello for a meatier bite; adjust fry time by 30–60 seconds if pieces are thicker.
Serve as an appetizer with a trio of dips—garlic aioli, smoky chipotle mayo, and lemon-herb yogurt (or vegan alternatives). Pair with crisp salads or place alongside grilled burgers for a crunchy side. Garnish with chopped parsley, lemon zest, or flaky sea salt for a restaurant-style finish. These mushrooms also make a tasty topping for pizzas and bowls when re-crisped briefly under the broiler.
Frying mushrooms is a comforting technique found in many cuisines—American diners frequently serve battered mushrooms as a shareable appetizer, while variations like British battered mushrooms or Eastern European mushroom fritters adapt local batters and seasonings. This recipe follows a simple American-style approach that emphasizes fast preparation and familiar pantry ingredients, drawing on classic diner flavors and modern home-cook practicality.
In spring and fall, swap button mushrooms for foraged chanterelles or morels for a gourmet twist—reduce frying time slightly for delicate varieties. In winter, add warming spices like smoked paprika and a pinch of cayenne to the flour. During summer barbecues, finish with fresh herbs like basil or thyme and serve with a chilled cucumber-dill dip to balance the richness.
For meal prep, fry mushrooms using the thin method and cool completely before packing into individual meal containers with a separate small dip cup. Keep crunchy components in a separate compartment until ready to eat to avoid sogginess. If making ahead, reheat in a 425°F oven for 5–8 minutes on a wire rack to recover crispness, then add fresh herbs or a squeeze of lemon just before serving.
These fried mushrooms are proof that simple ingredients and small technique adjustments can produce restaurant-level results at home. Whether you choose the light or thick coating, keep an eye on oil temperature and don’t overcrowd the pan—those two details will always make the difference. Enjoy sharing them with family and friends—you’ll likely see them disappear quickly!
Pat mushrooms very dry before coating to ensure the flour adheres and to prevent oil splatter.
Work in small batches to avoid crowding; overcrowding drops oil temperature and results in soggy pieces.
Test oil readiness with a pinch of flour—immediate sizzle means the oil is hot enough.
Drain fried mushrooms on a wire rack over a sheet pan to keep bottoms from steaming and losing crispness.
Season immediately after frying while the crust is hot so salt and spices stick.
This nourishing perfect fried mushrooms (two breading options) recipe is sure to be a staple in your kitchen. Enjoy every moist, high protein slice — it is perfect for breakfast or as a wholesome snack any time.
Yes. For oven re-crisping, arrange on a wire rack set over a baking sheet and bake at 400°F for 6–8 minutes or until hot and crisp.
To test oil temperature, sprinkle a pinch of flour into hot oil—if it sizzles immediately, the oil is ready. Alternatively, use a thermometer and target 375°F for deep frying.
Wash mushrooms briefly and pat completely dry. Do not soak; excess water prevents proper frying and leads to greasy results.
This Perfect Fried Mushrooms (Two Breading Options) recipe makes perfectly juicy, tender, and flavorful steak every time! Serve with potatoes and a side salad for an unforgettable dinner in under 30 minutes.
Clean mushrooms with a damp cloth or quick rinse and pat completely dry with paper towels. Slice evenly about 1/4-inch thick so pieces cook uniformly.
Combine 1 cup all-purpose flour with 2 tablespoons seasoned salt in a large bowl or zip-top bag and mix well so seasoning is uniform.
For pan-frying, heat oil over medium until it reaches a depth of about 1 inch. For deep-frying, heat oil to 375°F (190°C). Test with a pinch of flour—the flour should sizzle immediately.
Toss sliced mushrooms directly in the seasoned flour until lightly coated. Shake off excess and fry in batches for 2–3 minutes until the edges are golden brown.
Beat 2 eggs; dip mushrooms in egg, then dredge in seasoned flour to form a thicker crust. Fry for 2–3 minutes per batch until deeply golden and crisp.
Remove mushrooms to a paper towel-lined plate or wire rack, season immediately if desired, and serve warm with dipping sauces.
Last Step: Please leave a rating and comment letting us know how you liked this recipe! This helps our business to thrive and continue providing free, high-quality recipes for you.
Leave a comment & rating below or tag
@silksavor on social media!

Tender baked salmon crowned with a garlicky Parmesan herb crust, bright lemon, and buttery crunch. Simple to make, stunning to serve, and irresistibly flavorful.

Buttery graham crust, silky cheesecake, and cinnamon-kissed apples under a crunchy crumb, finished with glossy caramel. A fall crowd-pleaser you will crave.

Tender green beans in silky mushroom cream, crowned with crispy onions. A comforting holiday side made entirely from scratch that always disappears fast.
Leave a comment & rating below or tag @silksavor on social media!
Enjoyed this recipe? Share it with friends and family, and don't forget to leave a review!
This recipe looks amazing! Can't wait to try it.
Comments are stored locally in your browser. Server comments are displayed alongside your local comments.

Join to receive our email series which contains a round-up of some of our quick and easy family favorite recipes.
