
>>

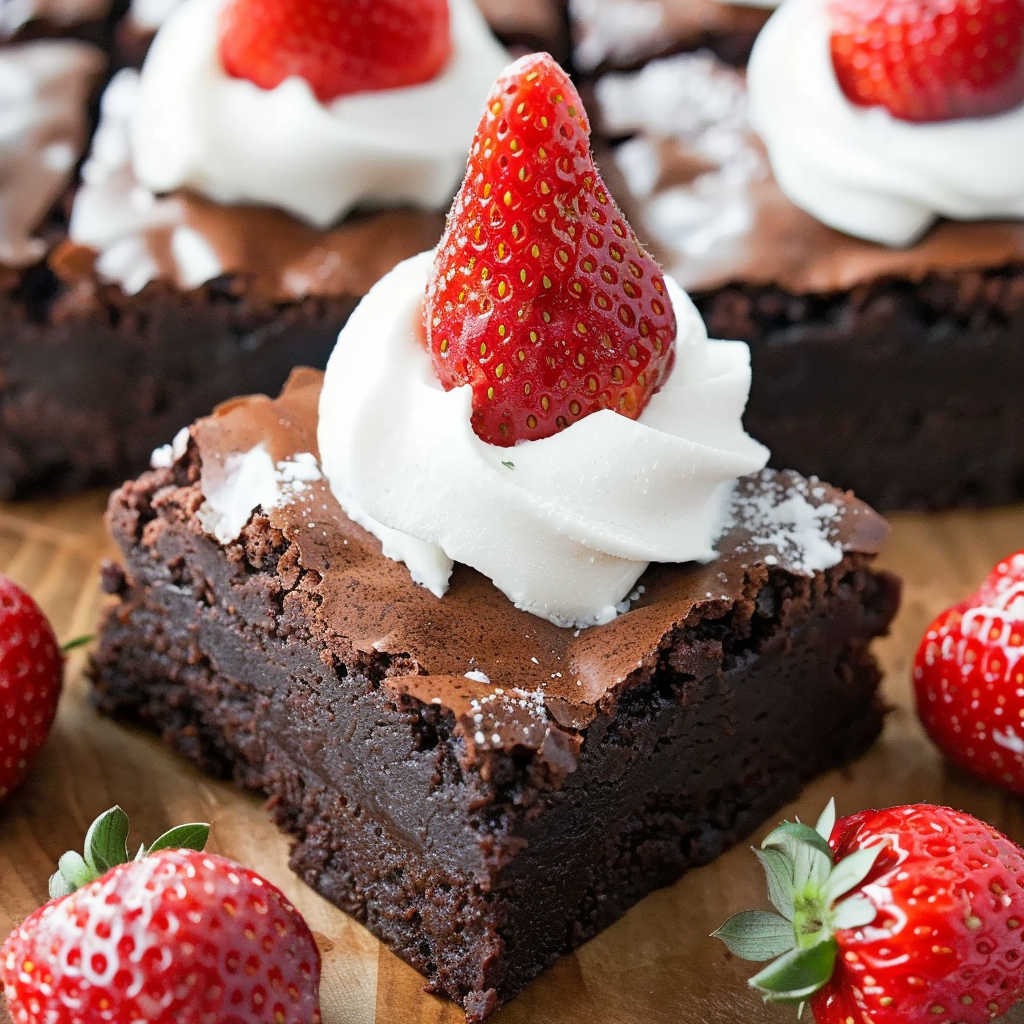
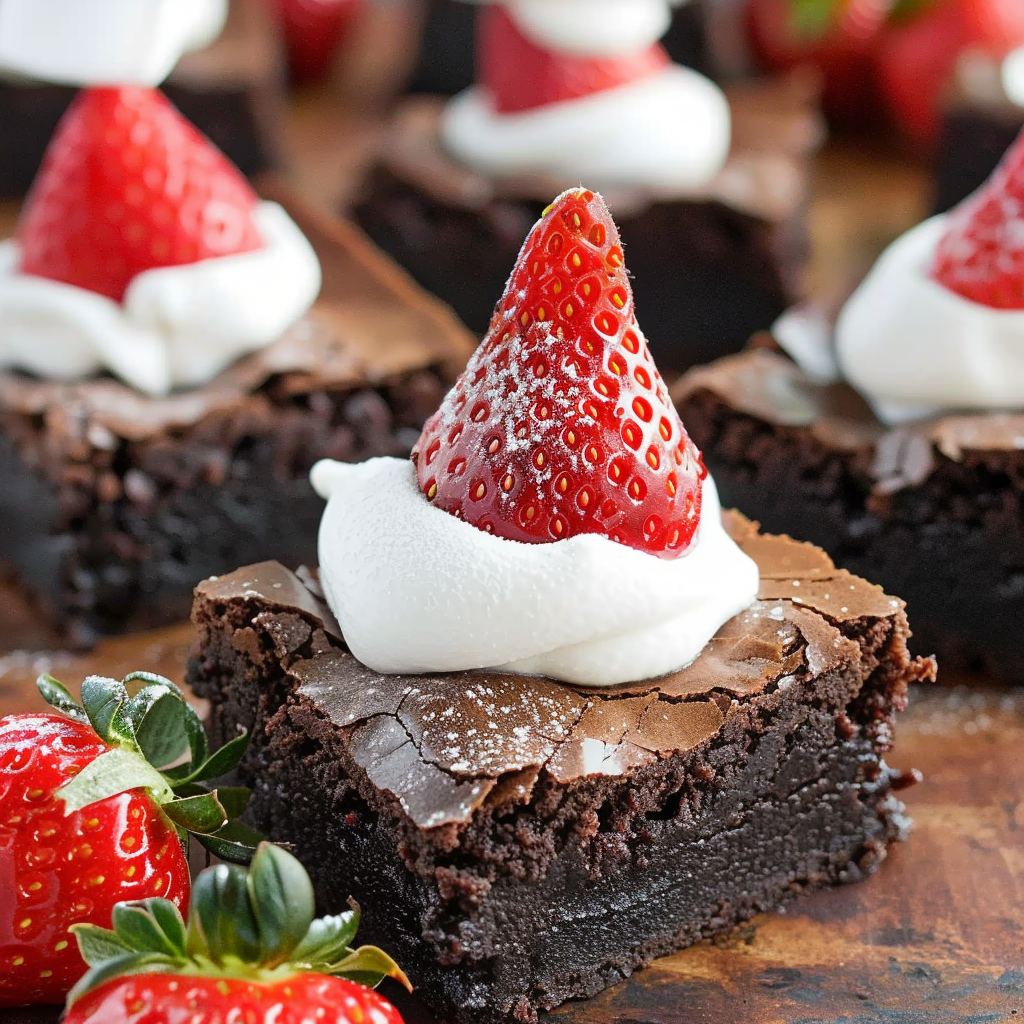
Decadent fudgy brownies topped with vanilla frosting and fresh strawberries transformed into festive Santa hats — a simple, show-stopping holiday treat.
This recipe arrived in my life during a holiday cookie swap years ago and immediately became a tradition: fudgy chocolate squares crowned with a bright red strawberry and a dab of frosting to mimic a Santa hat. I first tried a version made by a neighbor who used store-bought frosting and tiny berries, and the contrast of warm, dense chocolate with the juicy, chilled strawberry was irresistible. Over time I tinkered with the chocolate ratio and baking time to land on this reliably fudgy texture that still slices cleanly for parties.
What makes these particularly special is how effortless they are — five minutes of active prep, a single 8x8 pan, and minimal decorating that even kids can help with. The combination of a rich, slightly crackly top and a moist interior holds up well when cut into squares and dressed with the strawberries. They feel festive, yet the technique is approachable: no tempering, no multi-step batters. If you need a holiday contribution that looks polished but comes together quickly, these are a dependable winner.
In my kitchen these have become the treat I bring to holiday brunches — they travel well, and I love that I can do most of the work earlier in the day and finish the decoration just before serving. Family and friends always notice the fresh strawberry topper; even people who claim not to love chocolate sweets will take one because the bright fruit makes it feel lighter.
What I love most is how each square feels festive without complicated steps. I often make the slab earlier in the day, chill it, and then let my kids finish the decorating before guests arrive — it’s a charming family activity that also keeps assembly stress-free. The strawberry adds brightness and freshness that balances the rich chocolate, and guests always comment on how elegant a single berry looks perched on each square.

Store finished squares in a single layer in an airtight container. If stacking is necessary, place parchment between layers to prevent the frosting and berries from sticking. At room temperature they remain pleasant for up to one day; refrigerate for up to four days, though the brownies will firm and the strawberries may weep slightly. For longer storage, freeze unadorned cut squares wrapped individually in plastic and placed in a sealed freezer bag for up to three months. Thaw in the refrigerator and add fresh strawberries and frosting just before serving for best texture.
If you prefer butter over oil, substitute 3/4 cup melted unsalted butter; expect a slightly different mouthfeel and a richer flavor. For a dairy-free version, choose dairy-free chocolate chips and a vegan frosting; the eggs could be replaced with 2/3 cup applesauce in a pinch, but the texture will be cakier and less fudgy. Use coconut oil for a hint of coconut aroma, but use refined coconut oil to avoid a strong flavor. For gluten-free, swap a 1-to-1 gluten-free flour blend, though bake time may vary slightly.
Serve warm or at room temperature. For a dessert platter, arrange squares with fresh mint sprigs and a dusting of cocoa or powdered sugar between servings for contrast. Pair with lightly whipped cream, vanilla ice cream, or a citrusy sorbet to cut the richness. These work beautifully at holiday brunch when displayed alongside spiced coffee or hot chocolate, and the bright strawberries add an attractive color pop for buffet-style service.
Brownies are an American classic, born in the late 19th century as a compact chocolate treat. The idea of topping them with strawberries to create ’Santa hats’ is a modern festive twist inspired by simple holiday imagery. Combining seasonal fruit with rich baked chocolate reflects a long tradition of balancing dense desserts with fresh, bright elements — think of fruit served with pound cake or chocolate-covered strawberries, both staples of celebratory meals.
In summer, use ripe, fragrant strawberries and serve the squares slightly chilled. For winter holidays when strawberries may be scarce, try halved cherries or candied cranberries for a similar color contrast. Add a pinch of espresso powder to the batter for depth during cooler months, or fold in chopped toasted pecans for a holiday crunch. Mini marshmallows can replace the frosting for a playful twist resembling a pom-pom.
Make the slab a day ahead and keep it refrigerated to make slicing easier. Store frosting in a piping bag in the fridge; when ready to decorate, snip a small corner for piping. If prepping for a crowd, bake two pans and assemble half undecorated — finish with berries on-site to maintain freshness and visual appeal. Label your containers with the date and contents if freezing multiple batches.
These squares offer the satisfaction of a homemade dessert with the charm of a seasonal centerpiece. Whether you’re contributing to a holiday spread or making an after-school treat, the balance of deep chocolate and fresh fruit makes them memorable. Give them a try this season and make them your own with small tweaks — the basic method is forgiving and always delivers on flavor.
Whisk the eggs, sugar and oil for about 2 minutes to create a glossy top and slight lift.
Melt the chocolate slowly, stirring between 30-second microwave intervals to avoid burning.
Use medium strawberries with a flat base once the stem is removed so they sit stably on the frosting.
This nourishing santa hat brownies recipe is sure to be a staple in your kitchen. Enjoy every moist, high protein slice — it is perfect for breakfast or as a wholesome snack any time.
If you want cleaner slices, chill the baked slab for 30 minutes before cutting and use a hot, dry knife wiped between cuts.
Yes — freeze undecorated squares wrapped tightly for up to 3 months. Thaw in the refrigerator and decorate before serving.
This Santa Hat Brownies recipe makes perfectly juicy, tender, and flavorful steak every time! Serve with potatoes and a side salad for an unforgettable dinner in under 30 minutes.
Preheat oven to 350 degrees F. Line an 8x8-inch pan with parchment paper and set aside so cooled brownies can be removed easily.
Whisk together flour, salt, and baking soda in a small bowl until evenly mixed to ensure proper distribution.
In a large bowl, whisk eggs, brown sugar, and oil for 2 minutes to create a glossy mixture and thin top crust.
Stir in water and vanilla extract until fully incorporated to balance texture and flavor.
Fold the dry mixture into the wet ingredients gently to avoid overmixing and preserve fudgy texture.
Melt 1 cup chocolate chips in a microwave-safe bowl at 30-second intervals, stirring between, until smooth to avoid scorching.
Whisk melted chocolate into the batter, then fold in the remaining 1/2 cup chips so you have pockets of semi-melted chocolate.
Pour batter into pan and bake 50-55 minutes. Allow to cool on a rack before lifting from pan and cutting into squares.
Pipe a ring of vanilla frosting onto each square, place a strawberry (stem removed) on top, and add a small dollop of frosting to the berry tip.
Last Step: Please leave a rating and comment letting us know how you liked this recipe! This helps our business to thrive and continue providing free, high-quality recipes for you.
Leave a comment & rating below or tag
@silksavor on social media!

Tender baked salmon crowned with a garlicky Parmesan herb crust, bright lemon, and buttery crunch. Simple to make, stunning to serve, and irresistibly flavorful.

Buttery graham crust, silky cheesecake, and cinnamon-kissed apples under a crunchy crumb, finished with glossy caramel. A fall crowd-pleaser you will crave.

Tender green beans in silky mushroom cream, crowned with crispy onions. A comforting holiday side made entirely from scratch that always disappears fast.
Leave a comment & rating below or tag @silksavor on social media!
Enjoyed this recipe? Share it with friends and family, and don't forget to leave a review!
This recipe looks amazing! Can't wait to try it.
Comments are stored locally in your browser. Server comments are displayed alongside your local comments.

Join to receive our email series which contains a round-up of some of our quick and easy family favorite recipes.
